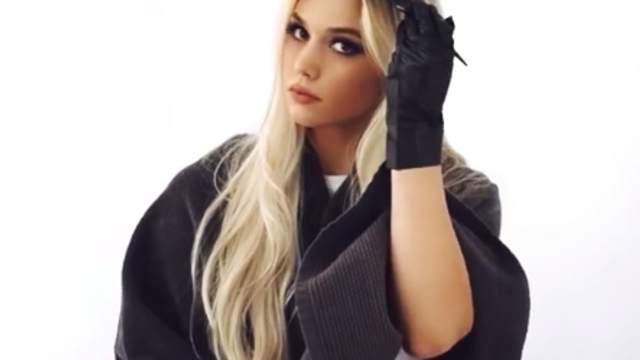
Line Meche Step-by-Step
In this video, we’re going to show you a new type of Meche using foil. This type is called Line Meche. This video is provided by Mrs. Anousha Shafi’I.
Instructions:
Greetings. I’m Anousha Shafi’I and today because of your frequent requests, I want to show you how to do Line Meche Dye. I'll explain the process from start to finish.
We’ve already separated the client’s hair. Three parts in front, three parts on the top and two parts in the back. After that, we’re going to separate batches of hair and wrap them in foil. If your model has a high volume of hair, then you can separate two to three parts of hair and wrap them in foil individually. The excess hair in between must be the same volume as the hair we wrap in foil. I'll show you this process in action.
Separate this part. Before wrapping the hair in foil, add some product to the foil. Let’s start adding the product. Add the product to the middle root and move upward. You must be asking yourself, why we are using the blue powder, because the blue powder is usually used when the hair is decolored and has started to look yellow. As you can see, the head I am working on has almost yellow hair and blue powder will work better on this type of hair.
We’re going to wrap our second layer of foil on the hair. We’re going to separate the next batch the same way we did with the first part and wrap it in foil. Add a layer of your product to the surface of the foil and then put the hair on foil. So now, we’ve wrapped two layers in foil. If you want the layer to be thicker, we can put one more layer inside foil, but here we don’t have much time so I’m just going to show you what the rest of the hair is going to look like. The batch of hair we leave to hang freely must be a little thicker than the layers you wrap in foil. Separate the excess hair and separate two more batches to be put inside the foil. We continue like this to the end for both sides of the head.
For the back of the head and the top, we usually separate the hair diagonally, but for this type of Meche, you want to separate thin layers of hair in ninety-degree angles. Separate the hair in a ninety-degree angle and wrap the hair in foil. Even your foil will stand in a ninety-degree angle. Do the same for the next layer. When you have added two foil wraps, we’re going to separate the free batch. Keep in mind that the excess hair you separate must also be in a ninety-degree angle and twice in volume. Move on to the next two batches for the foil wrap and then again the free batch.
For the top front of the head, it is much better to separate the hair with some space in between to avoid having a completely unified hair in the front. The amount of hair you separate to leave out of foil depends on the width of the forehead. Since my model head is small, I’ve separated only two parts. However, for the client, you can separate up to four parts. After you’ve wrapped these in foil, separate a thin layer and leave it. Again, separate another batch and then another, and wrap them in foil. Now separate another batch twice in volume and leave it without wrapping in foil. If your client’s hair has a high volume, you can separate a bigger batch of hair and use three layers inside foil instead of two and then leave out a bigger layer.
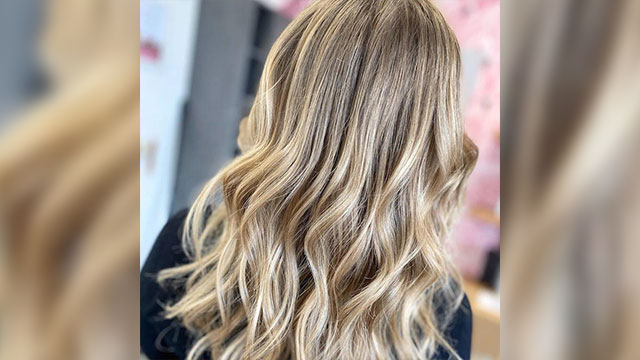
When you finish this process and split the hair from the center, you’ll notice that this part has its natural color. This relatively thick part of hair has a dye and the next thick batch behind it, is also in its natural color. This is why this type of dye is called a rail or line Meche. Also in the back, since we separated the hair in ninety-degree angles, these lines will look beautiful after you’re done.
If the client has a rectangular, round or heart-shaped face,
This type of dye will not be suitable for them in the front, since horizontal lines will make the face look bigger. It’s better if you preserve this type of dye especially for the back of the head. After the hair has reached its intended dye, rinse the hair. Since you’ve wrapped the dye in foil, the part left outside will not be affected and you’ll have a beautiful dye.
In this tutorial, I tried to focus and explain the harder points where most students still have problems. I hope I have answered some of your questions. In our classes, we try to work with all brands and not focus on one specific product. However, we will also recommend the best products and products suitable for different budgets. We have one-day classes for makeup artists, three-day private classes, and classes for complete beginners. I hope to meet you all in class. If you’re interested in joining me, please contact us using the numbers in the description.
Until next time, goodbye.

