How To: Checkered Hair Braid
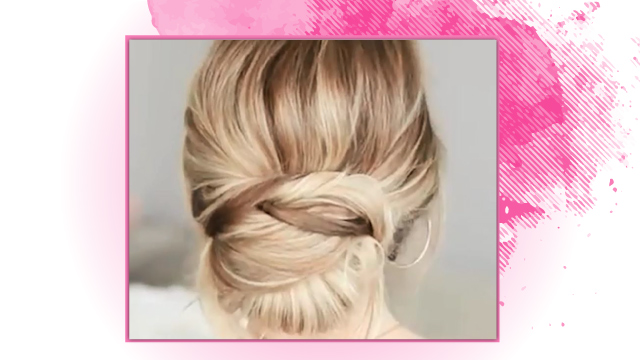
In this tutorial, we will show you a braided chignon. This video was provided by Chatr-E-Gol beauty Academy. To join our classes, please contact us at .
Instructions:
Greetings. I am Parvane Habibi from Chatr-E-Gol Academy. Today I am here with a tutorial on hair braids.
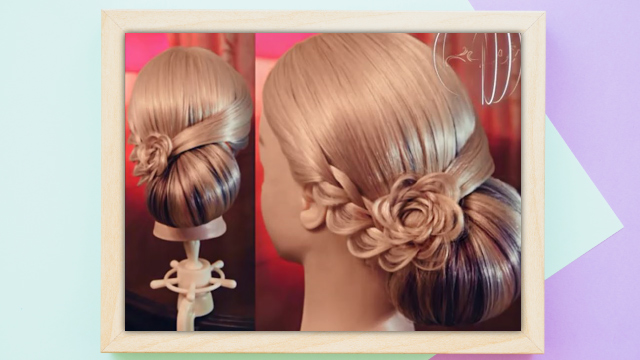
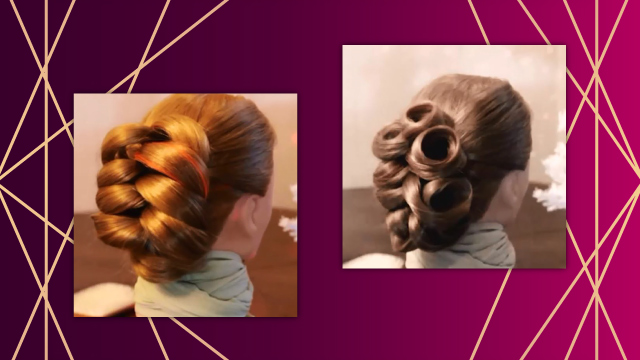
For this braid, I have tied the hair in the back in a ponytail. Let’s add a hair prosthetic. This is a chignon braid. Wrap the hair around the prosthetic like this. Now let’s bring the hair layers we had put aside back and start braiding the hair.
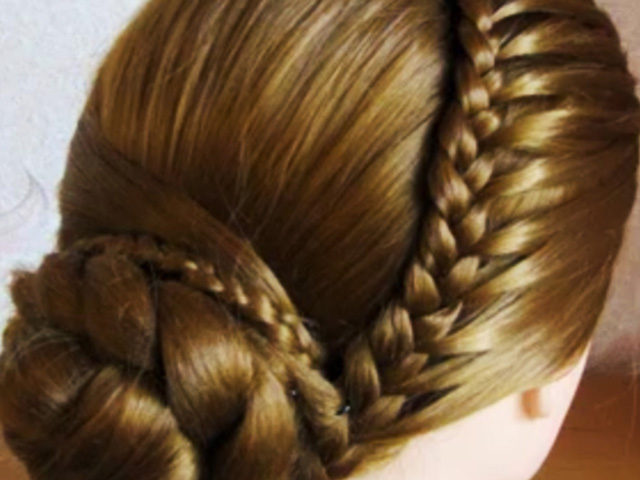
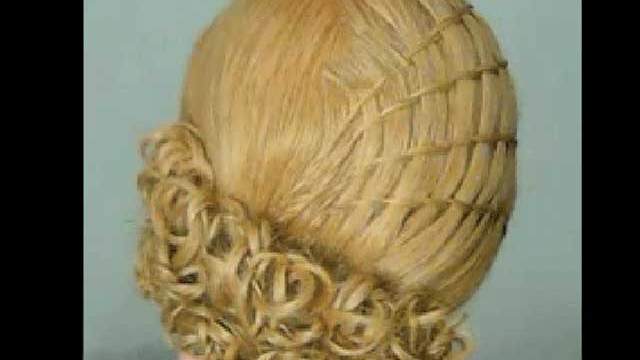
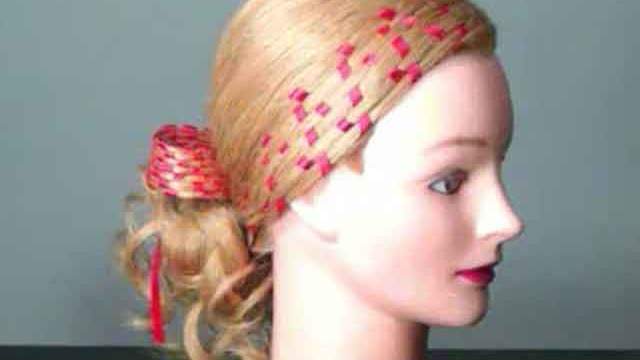
I have separated the hair into different layers based on the volume of hair. Let’s take the first layer and put it on the second layer, under the third layer, over the fourth layer, and under the fifth layer and so on. We will continue like this until the end as far as the hair length will allow us.
For the next layer, we have to do the exact opposite. We will start by putting the layer and put it under the second layer and on the third layer. Continue in a checkered form until the end. Apply some hair cream to reduce frizz and move to the third layer. Attach a temporary hairpin to the end of the hair layer to hold it and you can remove it later.
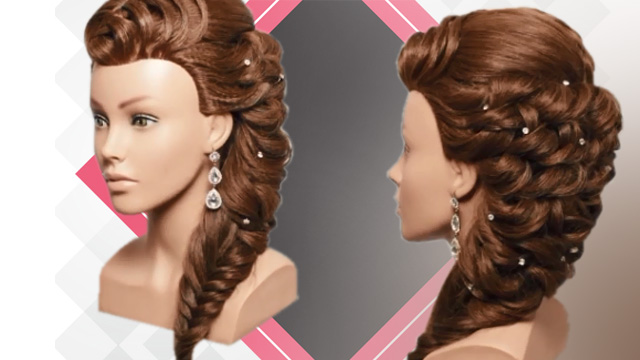
Take the next layer and continue the braid. This is a beautiful and popular braid. I will attach a hairpin to the hair for now and will remove it later. The straighter and longer the hair is, the better the braid will look. We will continue until we reach the end of the hair and we cannot braid anymore. Now let’s continue the braid for the rest of the hair that we had put aside.
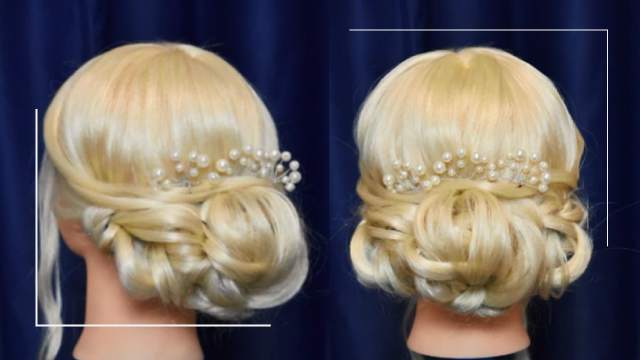
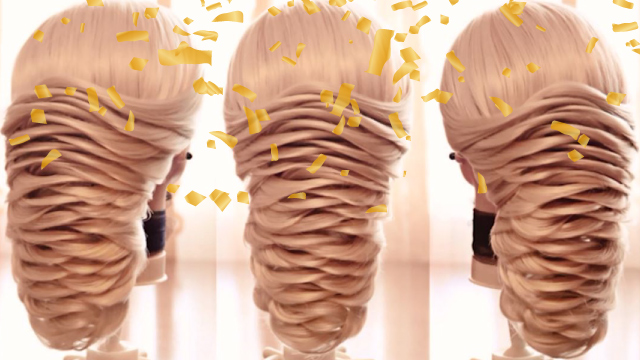
Separated the hair and repeat the same process to braid the hair again. Separate the hair based on the volume. I will do the same type of braid again. This will give the hair a checkered look. After braiding the hair, we can loosen it a bit and it will make the braid look even more beautiful. Take the hair to the back and fix it next to the previous braid using a hairpin.
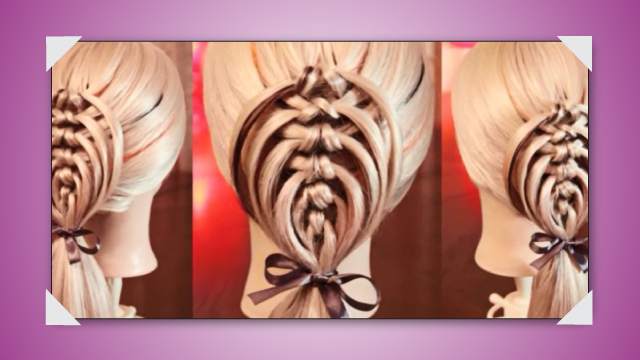
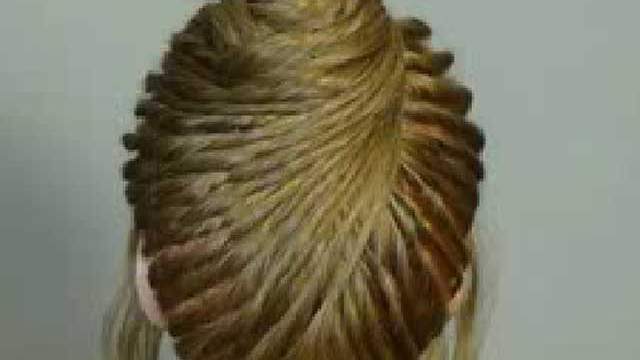
Let’s move to the next layer and do the same. You can also change the braid type and use something else for some of the layers. However, for this video, I will repeat this braid so you can see the method. Separate the sections and start braiding. Top, bottom, top, bottom. This layer will be the opposite of the previous layer.
When the braid is finished, pull on the sections to loosen it and then fix it next to the previous layers. We will continue the process until the end. I will finish the braid and show you the result.