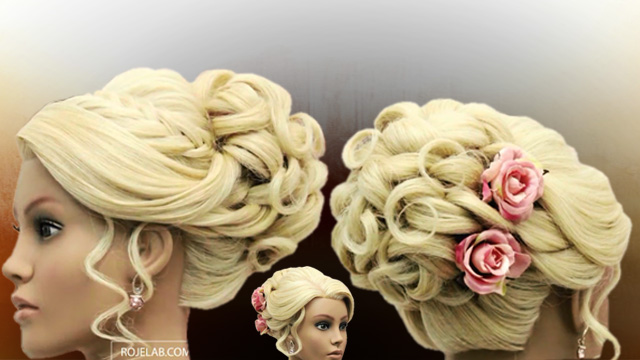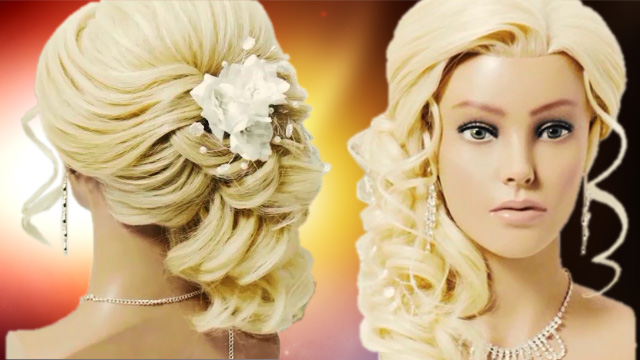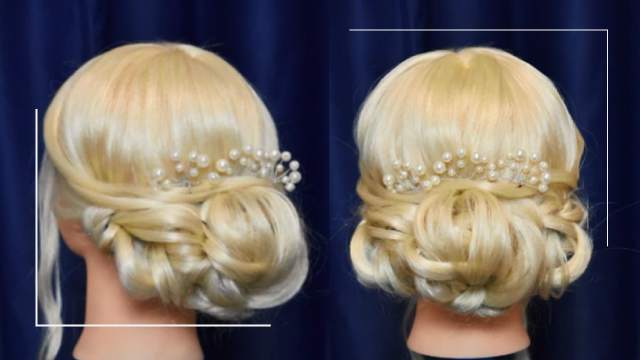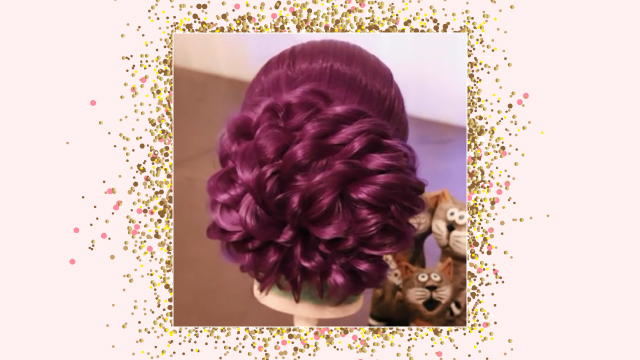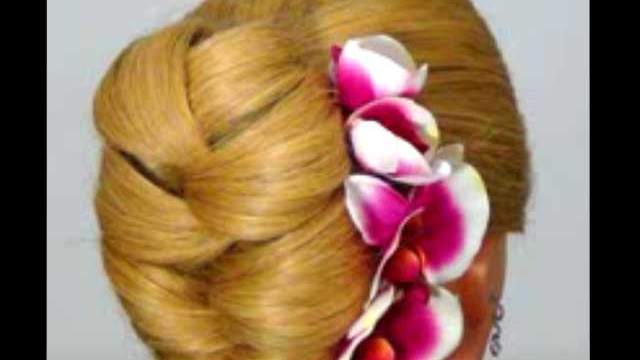
Flower Bun Chignon
In this video we try to teach you how to do a Flower Bun Chignon. This video is brought to you by Ostoureh Educational Group. If you're interested in joining our chignon and hair braid courses, please don't hesitate to contact us using .
Instructions:
Hello, today I want to show you a new and practical chignon. This video is brought to you by Ostoureh Educational Group.
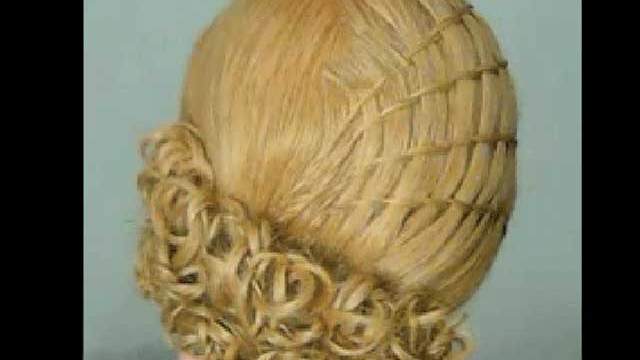
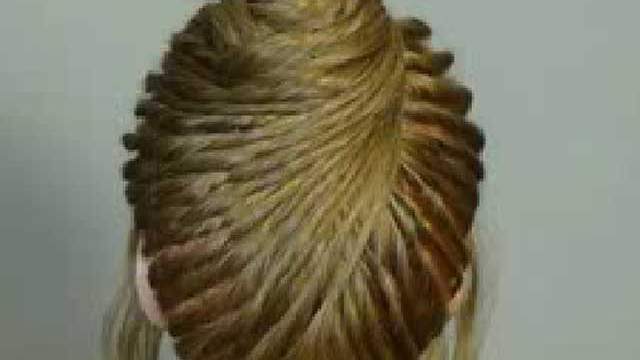
First, let's separate the hair by separating the front of the hair, separate the crown, and when you reach the back of the head, fasten the batch with a hair band.
Pull out small batches of hair and fix them using a styling spray. Use a hairpin to hold the hair in place. Please keep in mind that you shouldn't spray the styling product all over the hair. Spray the styling product only where you need it.
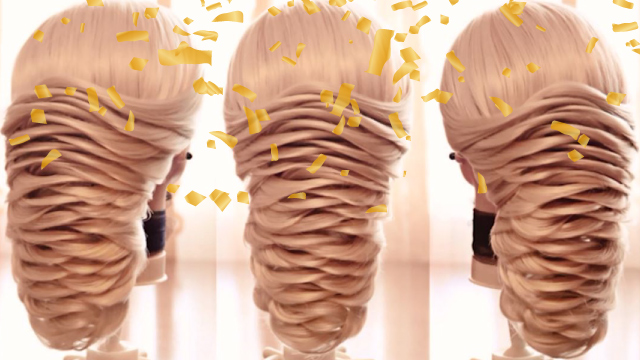
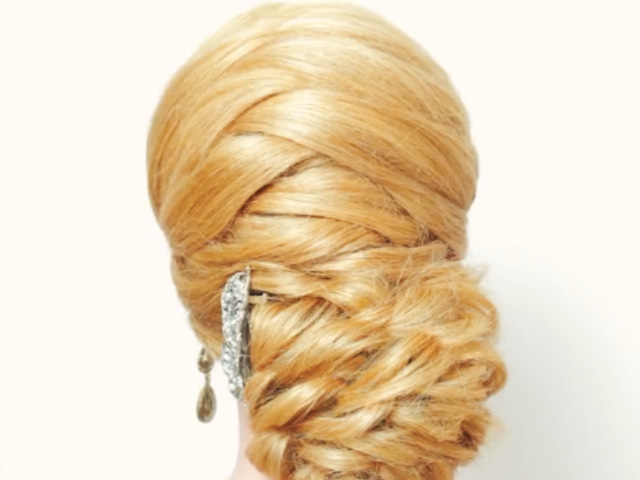
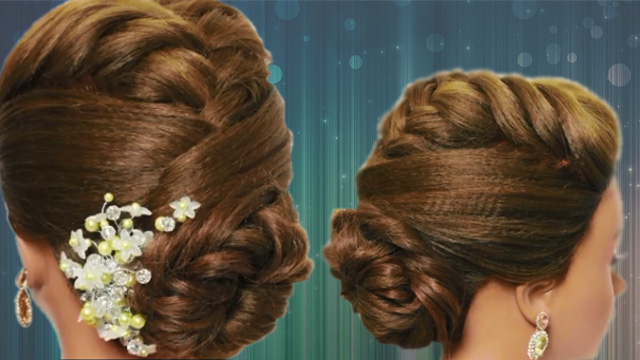
We want to make a flower in the back of the hair where the tail is tied into a ponytail. Start by separating the hair into smaller batches, pull the hair and apply your styling spray to fix the hair and hold in place. These are to form our flower leaves and they should be put together in a way to form a single flower. You can wrap the hair to form a Bougainvillea flower or just a few separate flowers. In chignon you can use either of these styles.
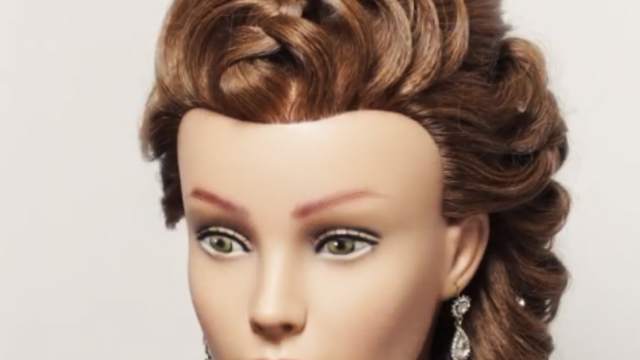
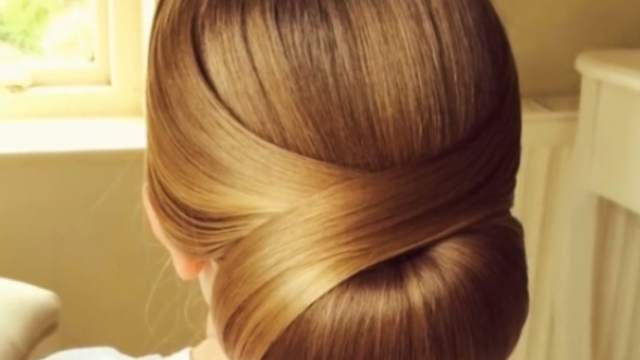
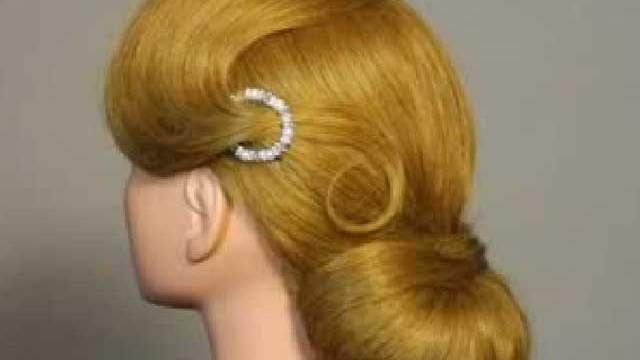
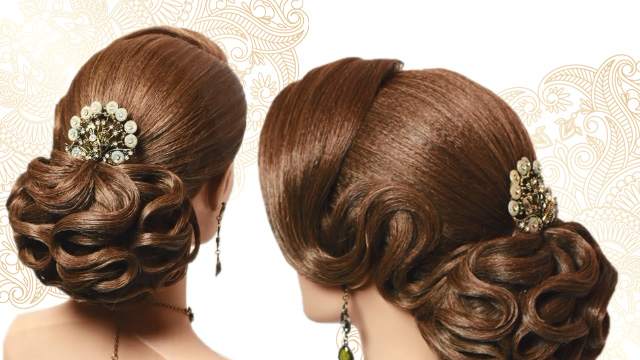
After we've made our flower in the back, it's time to start working on the next part which is the hair on the front. Separate the hair on the front and the sides. You have to pull the hair on the sides to the back. You can do the same for the front, but the hair on the front depends largely on the model's face. If the face is round then it's better to pull the hair slightly up, but if the face is oblong, it's better to form the hair in a way that it will cover parts of the forehead.
I hope you've enjoyed this short tutorial. We hope to see you in our private and group classes.
Goodbye.