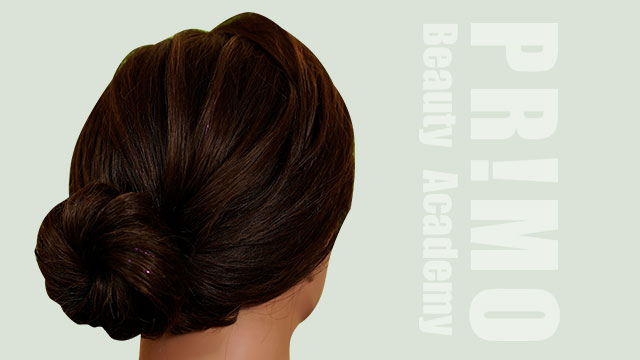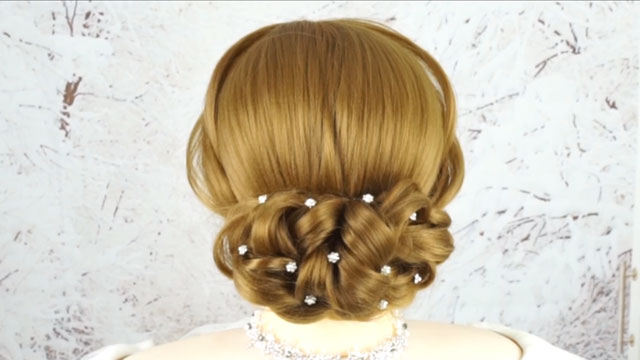
How To: Twisted Low Chignon Bun
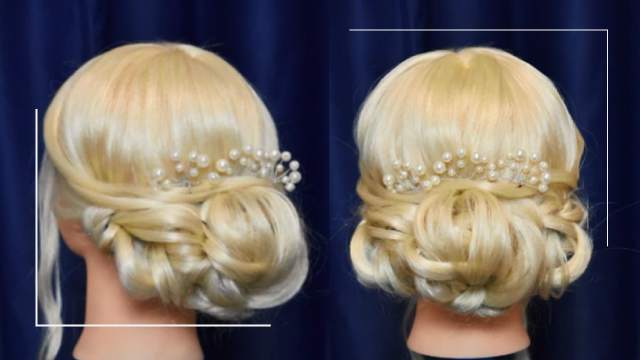
In this tutorial, you’ll learn a beautiful low bun chignon, suitable for people with oblong faces.
Instructions:
Greetings. I’m here from Noghre Negar beauty institute with a chignon tutorial.
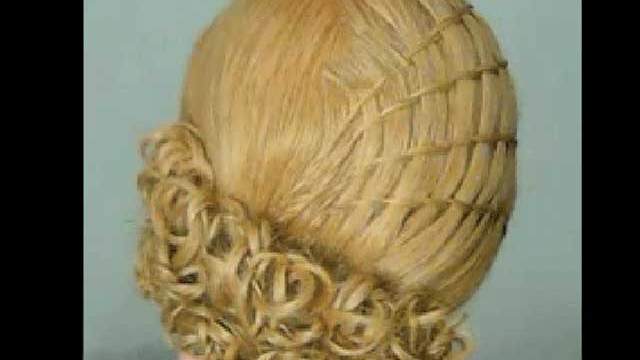
For this chignon, I’ve separated the hair prior to the video. I’ve separated the hair in the front and then the hair on the top of the head. I’ve tied the hair in the back in a ponytail and added the prosthetic hair under the ponytail as you can see. This is a low bun chignon for those who want a low hanging chignon and it’s mostly suitable for people with oblong faces.
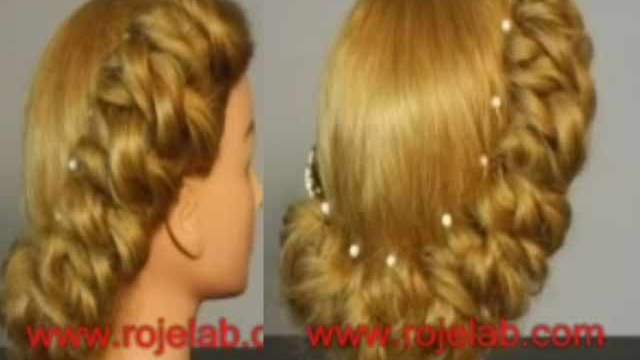
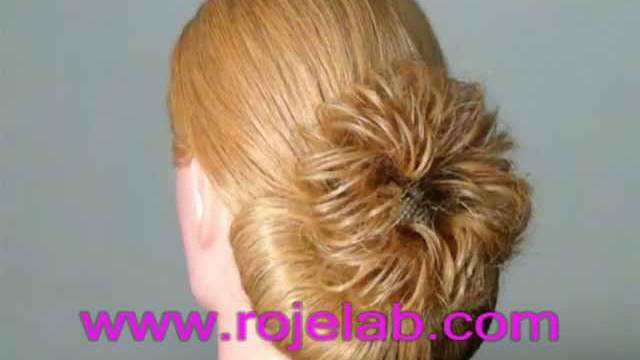
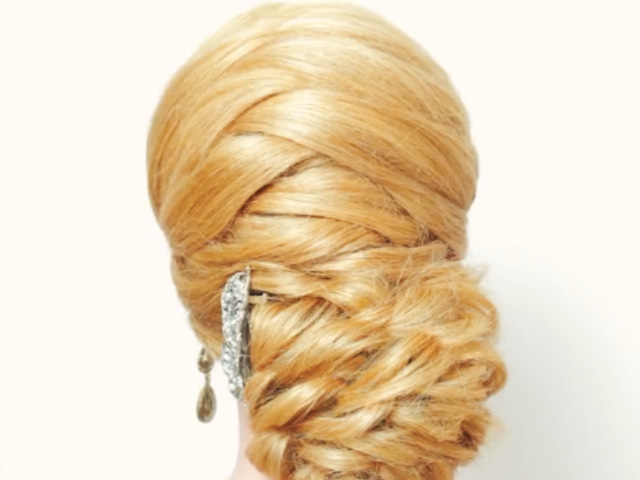
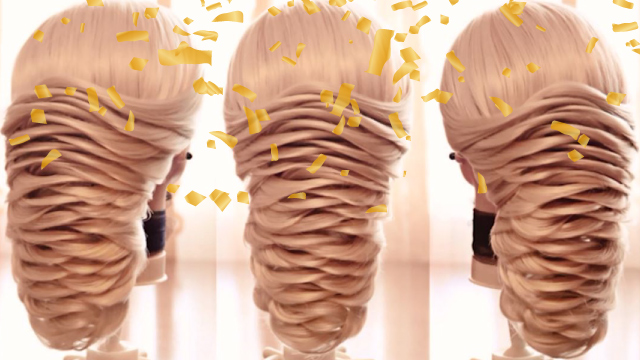
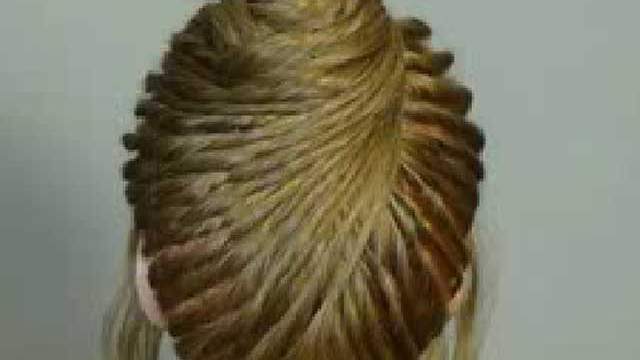
Separate a layer of the hair, apply some hair cream to the layer and brush it. Twist the hair layer a bit and then loosen them. Now put this layer on the side of the head. Add hairpins to the loosened twists to fix them in place. Separate the next layer in a similar way. Twist the hair again but this time in the opposite direction of the previous layer. You should do the same for the rest of the layers in the back of the head. Twist them in the opposite direction of each other and then fix them in place with hairpins.
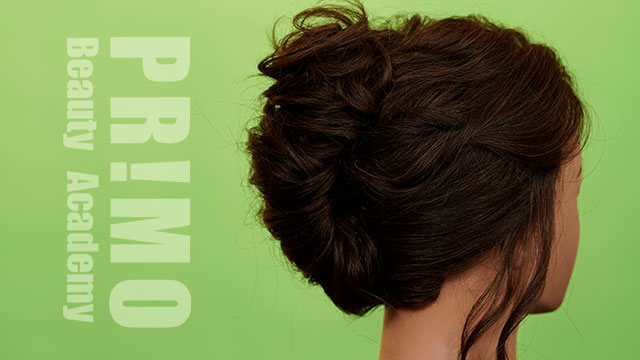
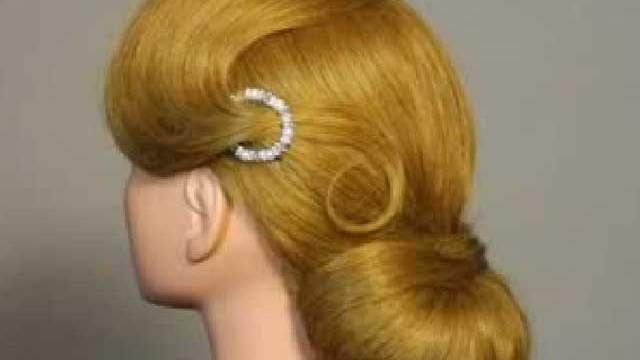
We’ve finished twisting and fixing the hair in the lower part of the head and now it’s time to work on the crown. I’ve teased the hair superficially and brushed the surface and now I want to fix the hair in place. I want to make this part of the hair look like a bowtie. Take a section of the hair and tease it close to the root. Now brush the surface the hair. Hold the hair like this and add a hairpin to fix it, and then fold it the other way. Add another hairpin here to fix the fold. Do the same for the other layer, tease the hair near the root, and then brush the surface.
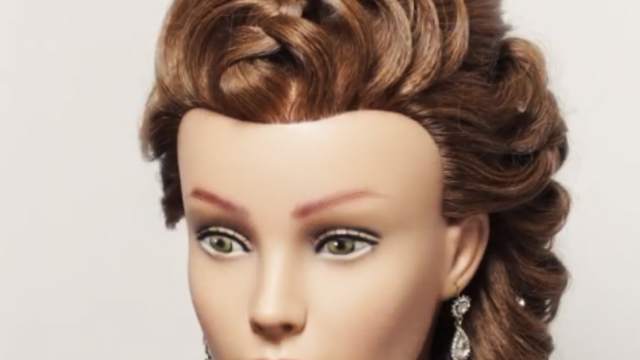
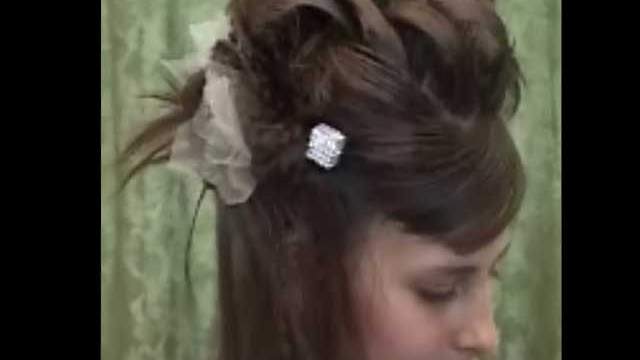
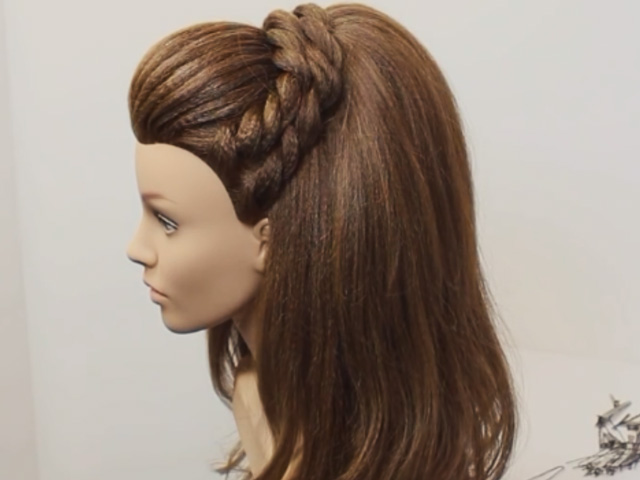
Add a hairpin here to hold the hair and then brush it. Now bend it upward like then. Now we have to work on the front of the hair. The front of the hair depends on what your client prefers so you can form it however, they like. For this tutorial, I want to braid the hair in the front. Separate a part of the hair like this and then separate it into three smaller parts. Bring the layer on the left to the middle and do the same for the layer on the right. Continue this process until the end of the layer. Loosen the braid a bit like this and now fix it.
This concludes our tutorial for today. I hope it’s been useful. We’d love to meet you all over at Noghre Negar beauty institute.