How To: Crease Cut Makeup
In this tutorial, you will watch a complete Cut Crease makeup application. This video was provided by Noghre Negar Beauty Salon.
Instructions:
Greetings. I’m Zohre from Noghre Negar Beauty Salon. In this tutorial, we want to teach you how you can apply a Cut Crease makeup.
First, apply a deep moisturizer to the skin. A moisturizer will help eliminate any crack or superficial wrinkle from the face. Let the moisturizer remain on the skin for three or four minutes. It will help the skin absorb the powder cream and the durability of the makeup. let’s apply a basis for the eyeshadow first. This will help result in a velvet-like eyeshadow and a better-fixed makeup.
For this makeup, we’re going to use a dry contour. Therefore, we’re going to apply the dark and light shades for the contour and apply a dry contour at the end. Apply a light concealer under the eyes. Since my model has a young and smooth skin without any acne or spots, there’s no need to apply a camouflage. I will talk about camouflage and its uses and how to work with them in my future tutorials.
When you apply an eyeshadow basis beforehand, there’s no need to use heavy creams on the eyelids during makeup. You can use light powder creams for a very well done makeup with high quality and long durability. Let the skin relax for a while and then we will move to our dry contour. We’re applying the dry contour to the cheeks. For this shadow, you can move from a light shade to a dark one or vice versa. The best way is to move from light shadows to darker ones. This will make fading them easier. We can now apply a dark shadow under the eyes and start fading it. I want to add a bit more darkness to the shadow. I’ll draw the eyeliner and fade it.
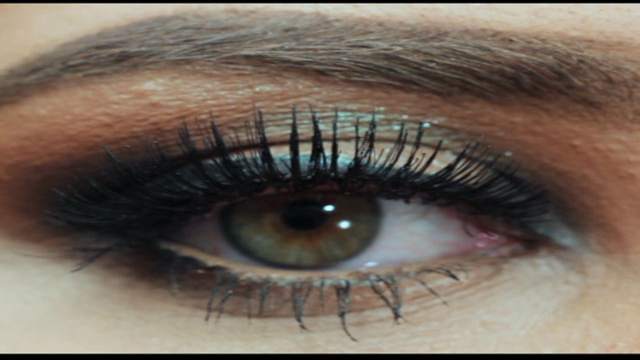
Now darken behind the eyelids thoroughly. Now you have to fade the shadows. You fade the dry shadow, aqua, or eyeliner with your brush. This will increase the durability of your eyeshadow. We created a cut using a light powder under the eyes to better form the eyes. Some eyes are more round and this will help make the eyes look longer. After creating this line, we can use our fixing powder to fix the makeup under the eyes. Use a light fixing powder, because it can make the eyes look bigger. Now I’ll use my concealer to cut the shadow on the upper eyelid and then use a shining eyeshadow in the middle of the eyelid. You can use some concealer below the eyes as well. We fade it again.
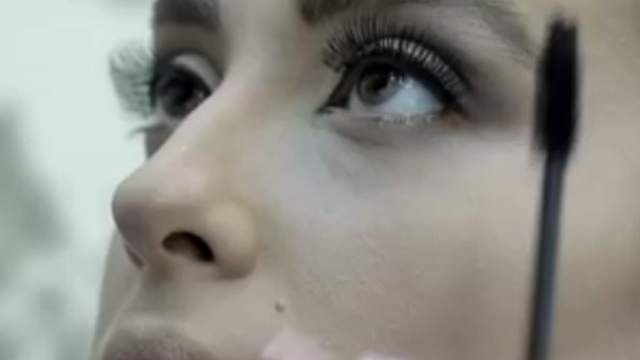
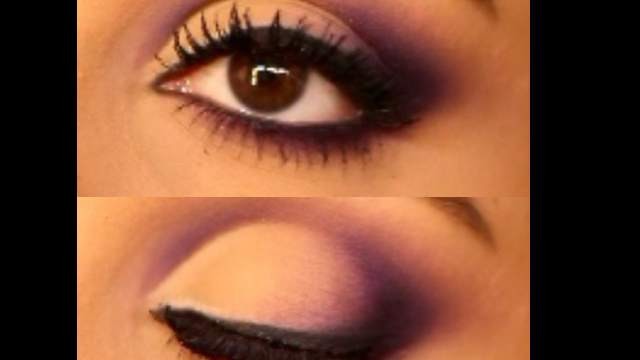
Use long false lashes on the outer edge of the eyelashes. Hold your hand slightly outside the area of the eyes, so when you attach the false lashes, they look longer and more beautiful. To hachure the eyebrows, always start from the arch of the eyebrows to make them look longer and give it a natural fade when you reach the crown. If you start at the crown of the eyebrows, you might make the crown too dark. Remember that the fade isn’t especially limited to the eyeshadow, it must also be applied to the eyebrows. On the crown, apply a very light hachure. For the eyeliner, start at the outer edge and draw that part first, fade it and then do the rest.
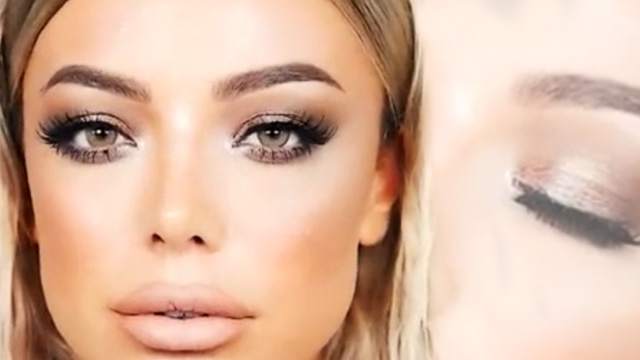
We always try to fade the eyeliner for bridal makeups and avoid designing any tails, but this is more a matter of taste. Nevertheless, I would suggest that you fade the eyeliner and then apply a black shadow at the end of it. When you apply a dark shade on the edge of the upper eyelid for the eyeliner, apply the shade below the lower eyelid as well and connect to the upper one. There shouldn’t be a dark shade on the upper corner of the eyelid and nothing on the lower one. We finished working on the eyes and now we want to add the cheek blusher.
I hope you liked this tutorial. I hope to meet you all at Noghre Negar Beauty Salon.