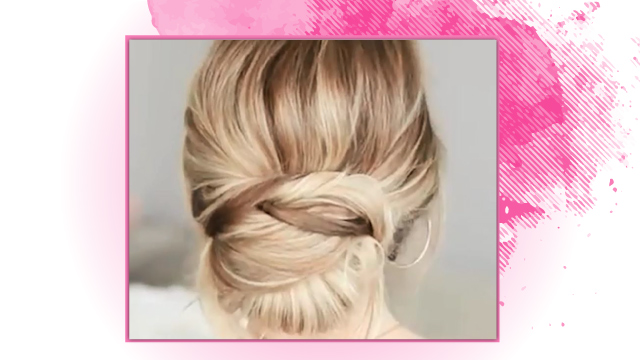
Easy & Elegant Chignon
In this tutorial, you’ll learn an easy but beautiful low chignon. This tutorial was performed by Mrs. Parvane Habibi and provided by Chatr-E-Gol Academy. To join our classes, please contact us at .
Instructions:
Greetings. I’m Parvane Habibi from Chatr-E-Gol Academy. I’m an expert hairstylist. I’m here with a new chignon tutorial today. I hope you enjoy.
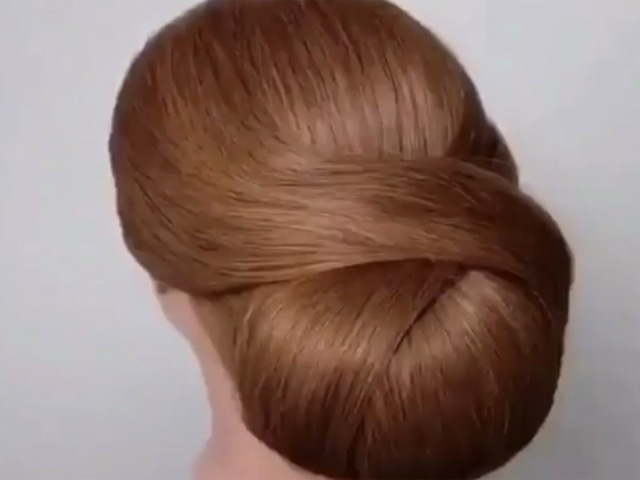
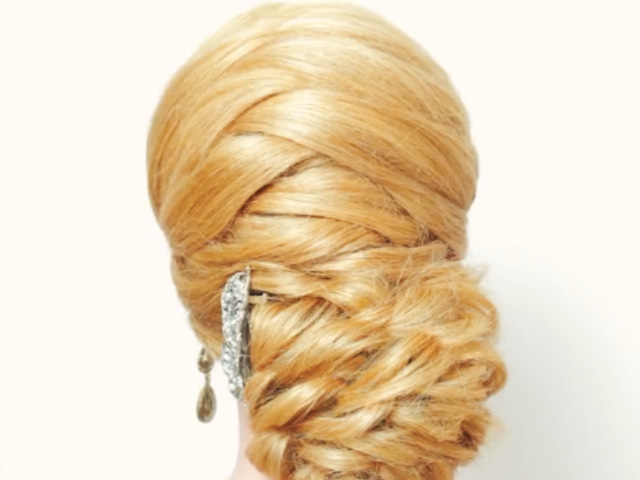
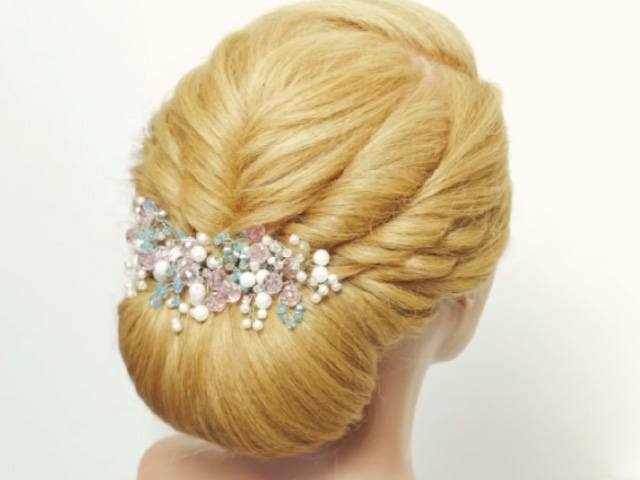
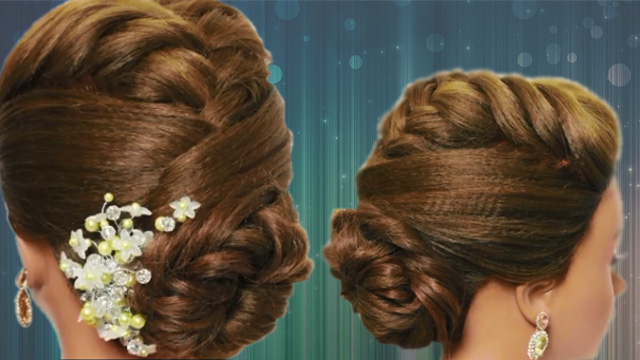
This is a relatively easy and yet popular chignon. You have to separate the hair from one ear to another. Separate the crown and use a hairband to wrap the back of the hair in a ponytail. Brush your ponytail thoroughly and form it into a prosthetic. After fixing the prosthetic in place, separate another part of the hair to put on your prosthetic. Tease this part of the hair. Widen it on your prosthetic.
After teasing all the layers, hold them at the center of the prosthetic and fix them using a hairpin. Widen it and put it on your prosthetic to make it bigger and the surface smooth. Brush the top of the hair and add some hair cream. Brush the top of the hair and add some hair cream. Because it will make creating lines on the hair easier. Fix the hair here and start creating your lines. Brushing with a widen brush can help create the lines on the hair, and then use your fingers to make them more visible or bigger.
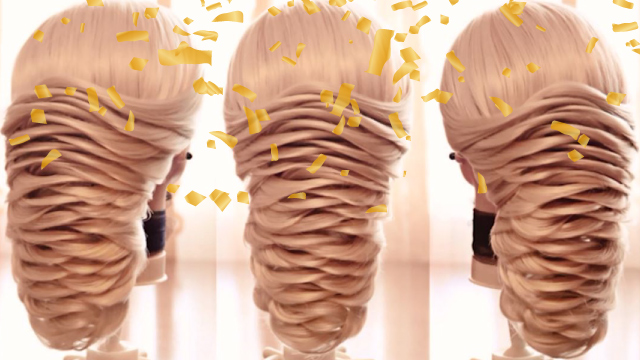
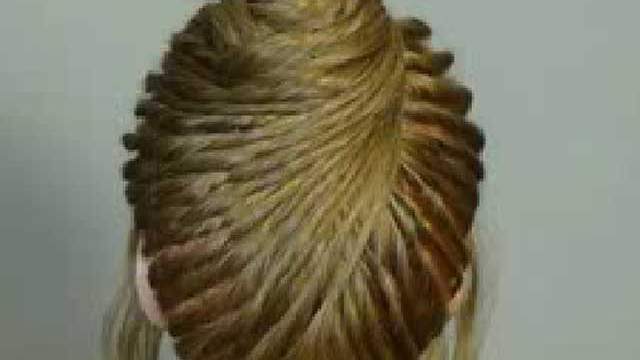
You can also do this chignon on shorter hair. Apply styling spray after creating your lines. Now that our lines are created, most of the work is done in front of the hair. Separate on side of the hair into two parts. The split section should be diagonal and it’s better if you create the split line with zigzag moves. This will help with creating the lines. Brush the hair to smooth and untangle it. Let’s work on the bottom layer first. Twist the hair loosely after brushing it and pull out small layers of hair out. To make it easier, you can spray the hair with styling spray every time you pull out a layer of hair, fix it with a hairpin, and then pull out the next layer.
You can also use hair sticks. These sticks will help you with creating the twists and lines and change their size. It's much easier to do this using the sticks, since they are long. We will talk more about these sticks in future tutorials. One of their utilities is to increase the size and height of these lines. You can also use these sticks to form V-shaped curves and lines on the hair. I will continue like this until the other side. I will show you the finished work.
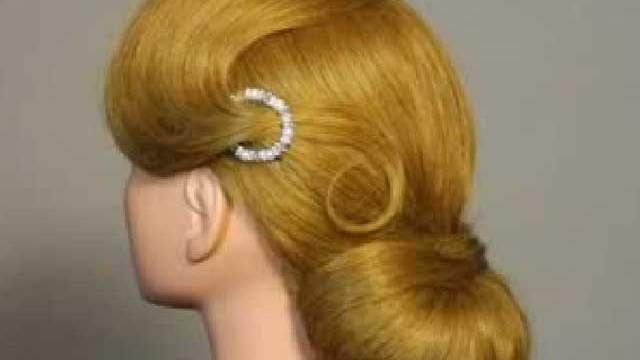
After creating our twists around the back, we have to move to the bangs and repeat the same process. If the client has an oval face, you can leave some hair hang in the face. This depends on your choice and the client’s preference. Twist the left layer to the right and the right one to the left and repeat the same thing you did on the side, for the bangs. Embolden and heighten your lines exactly like before. Gather the rest of the hair inside or continue to work on the hair if you prefer. Remove the sticks in the end and if you feel like the hair is going to get loose after removing the sticks, attack hairpins in their place.
I hope you have enjoyed this chignon. To join our private and public classes, please contact us at the numbers provided in the description.