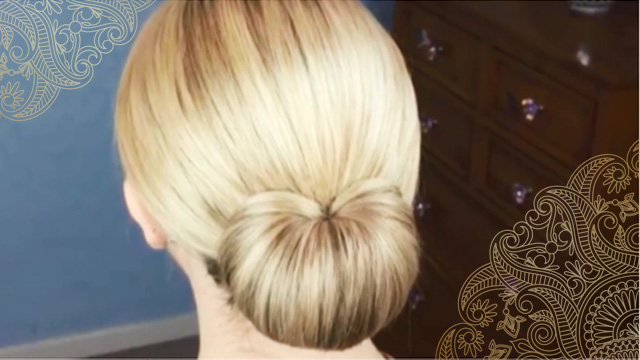
How To: Easy Bun Chignon
In this tutorial, you will learn a simple, yet beautiful chignon. This video was provided by Mrs. Parvane Habibi from Chatr-E-Gol Beauty Salon. To join our classes, please contact us at .
Instructions:
Greetings. I’m Parvane Habibi. I’m a hairstylist and chignon, expert and instructor. I’m the administration at Chatr-E-Gol Beauty Salon with more than twenty years of experience. I’m here with a chignon tutorial and I hope you’ll enjoy this video.
I’ve separated the hair from one ear to the other, the crown of the hair, and in the back wrap the hair in a ponytail using a hairband. Attach a prosthetic under the ponytail and start the process.
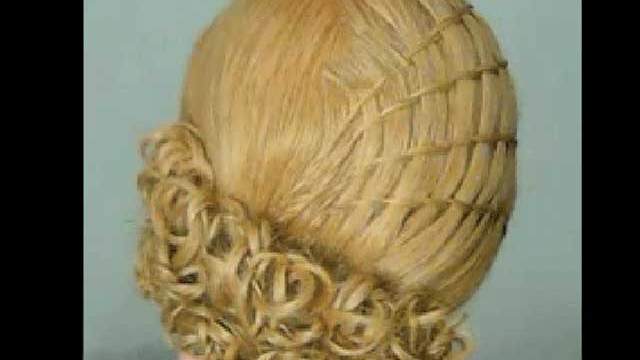
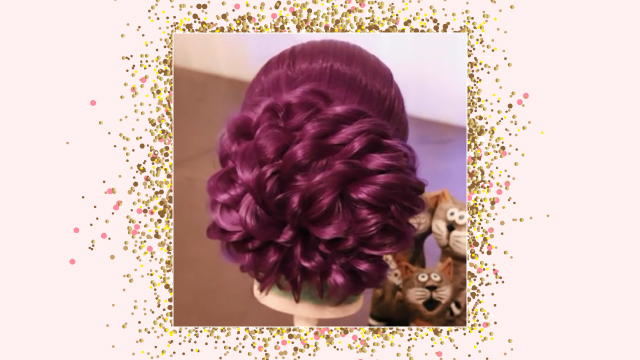
You should use a big prosthetic because we want to create a big bun in the back. I’m going to tease the hair I want to put on my prosthetic. Apply some styling spray to the hair, brush the surface and hold the hair underneath the prosthetic. Separate a layer of hair from the crown and bring down on your prosthetic to add to its volume. We’ve separated this part from the crown and now we can move it to the middle of the prosthetic, attach a hairpin to it and wrap it around our prosthetic.
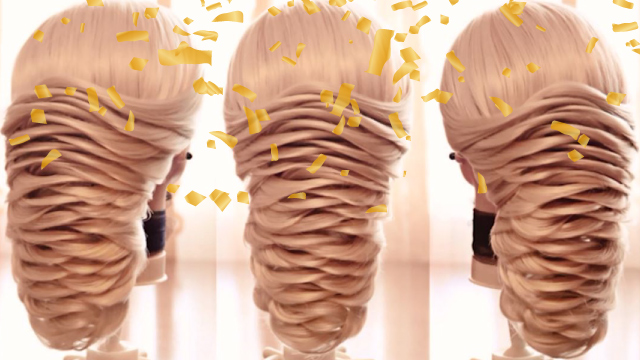
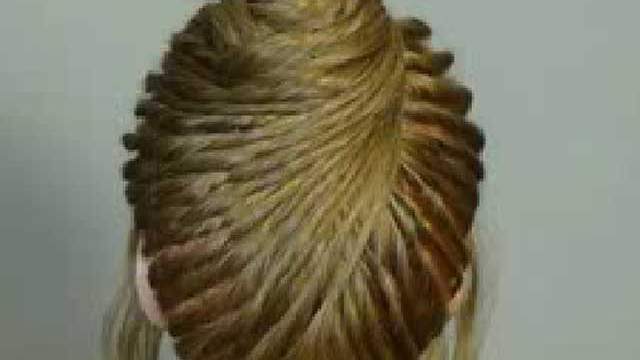
What we did now, will make your Chanel look smooth, tidy and firmer in place. The second part of our chignon involves separating another layer of the crown and tease it a little bit. Bring it to the middle and start creating lines. We have to direct these lines to the middle of the layer. First, create the lines and then apply your styling spray. You can also use a hair cream if you notice the hair is frayed. Now that we have created the lines, we can use a hair spray.
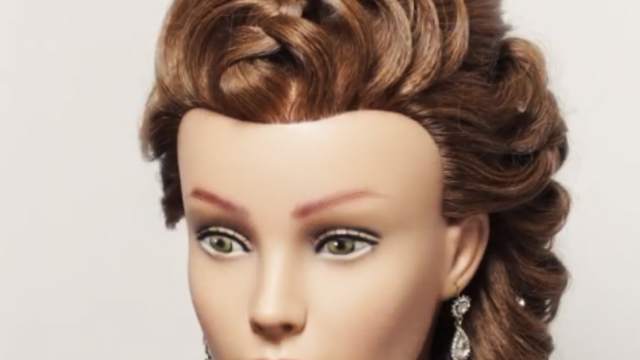
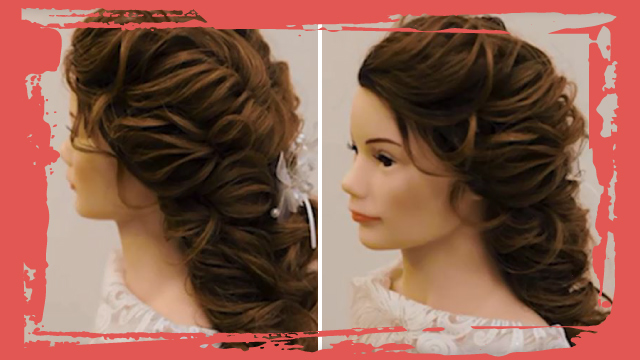
Widen the hair on your Chanel after creating the lines. Now we can create our lines on this area. Spray the hair again. Wrap the rest of the hair under the prosthetic. After creating the lines on the back, move to the front and do a diagonal split section for the bangs. Create a few lines on the hair layer, weave it a little around the head, and hold it on the prosthetic for now. We can move to the other side after creating the lines here.
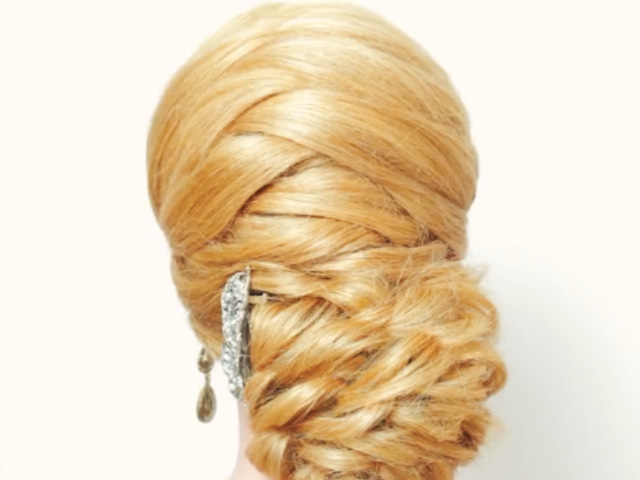
For the hair in the back, twist the layer a bit and then hold it in place with a hairpin for the time being and move on to the rest of the chignon. Although my model has short hair, it’s still possible to do the chignon. Apply some styling spray, attach a few hairpins, and then form the hair with a brush. Continue in the same way. Twist the hair, attach a hairpin and then create your lines using the end of the brush. We will continue like this until the end and do the same for the other side of the hair.
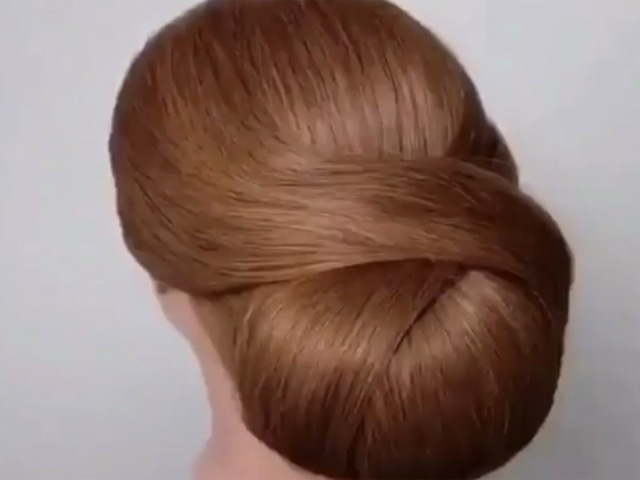
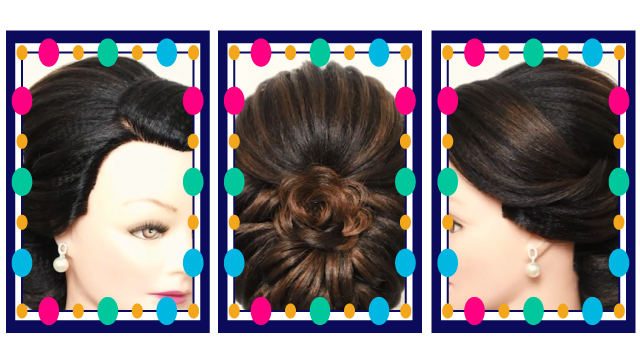
I’ll finish this chignon and come back to show you the result. I hope you have enjoyed this simple yet beautiful and popular chignon. This will conclude our tutorial for today. This chignon model is popular among young women. A simple and chic chignon and easier to do than other types of chignons. I hope it has been useful to you. To join our private and public chignon, working with formulas and hairstyle classes, please contact us at the numbers provided in the description.