How To: Gelish Nail Design
In this short video, we will show you how to design nails using gel. This video was provided by Sharareh Vahedi beauty salon. To join our classes or to book our services, please contact us at .
Instructions:
Greetings. In this item, I want to teach you how to use the blooming gel technique.
For this technique, you will need blooming gel. It can be in the form of a polish with a brush or provided in containers. The basis for the work consists of gelish. You can use any color you want. We also need a design brush and an LED machine.
As a first step, we are going to add a layer of gelish in your chosen color to the nail. Now let’s put the nail under LED light. Keep in mind that you should not let the LED light shine on your polish bottle or brush at all. Otherwise they will get dry and be unusable.
Now let’s add another layer of gelish on the nail. Let’s put the nail back under the LED machine. At this point, we are going to use our blooming gel. My blooming gel is in a container form. I’m going to take some of my blooming product using my brush and apply it across the nail. Make sure to cover the whole nail with the gel. There’s no need to put the nail under LED light at this point.
When the whole nail is covered in blooming gel and when it’s still wet,
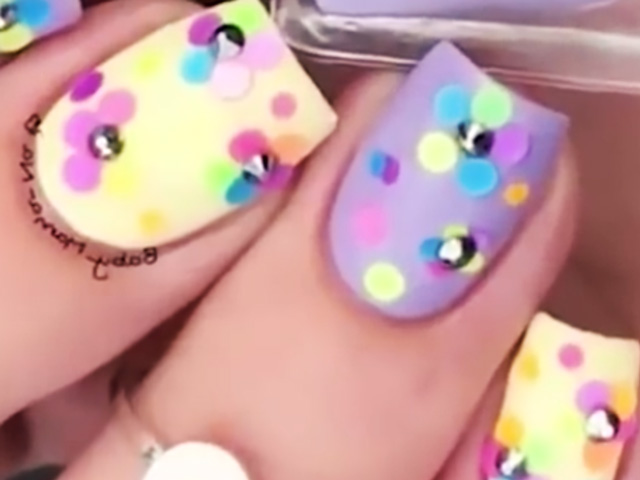
We can use our thin designing brush to put our white gelish on the nail in the form of big dots. You can do the design however you want. Try to put the dots close to each other. This will make the work look better. Blooming has the ability to spread the color on the nail after you’ve applied it.
You have to give the nail a little time for the blooming to spread the colors a bit. When the colors have spread enough, we can put the nail under LED light. As the last step, we are going to apply a layer of cover gel. Now put the nail under LED light again.
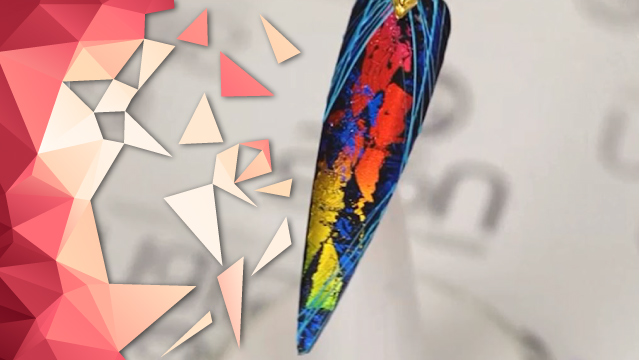
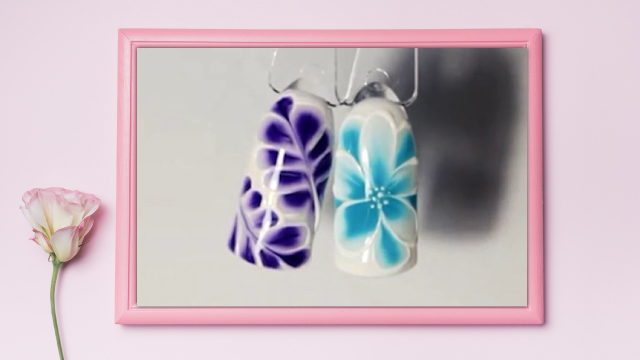
Now I want to show you how to design a flower using this technique. I’ll apply a layer of black gelish on the nail. You can use any color you want, but keep in mind that the basic color should always be darker than the color you use for the design so the shadows can be seen. I’ll put the nail under LED light. At this point let’s add a layer of blooming gel on the nail so it can cover the whole nail.
Now we can use our design brush and white gel to draw our flower. To draw a flower, smear your brush in the gel completely and start designing the flower from the middle of the nail. Draw your lines close to each other so when the colors spread, it will make the flower look better. Now let’s put the nail under LED light. Let’s add top shine on the nail as the last step. Now put the nail under LED light again.
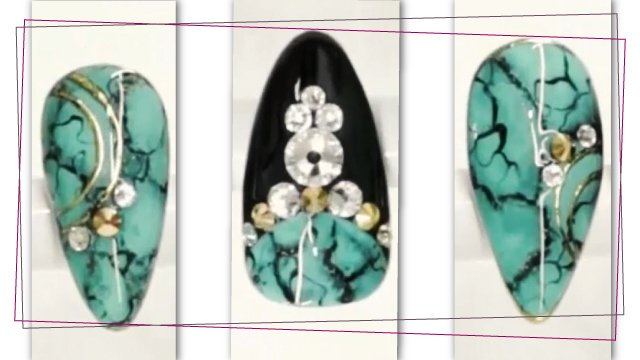
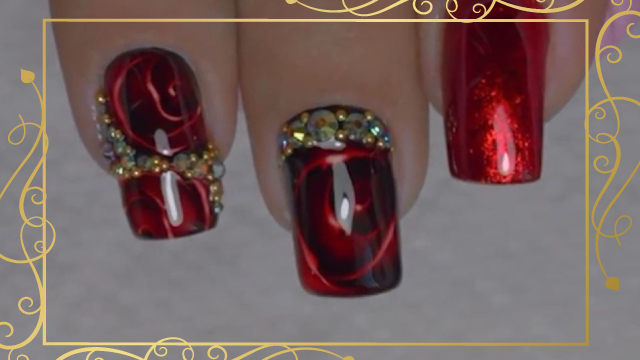
Now let me show you another flower design using blooming gel technique. I’ll add a layer of black gelish on the nail. Let’s put the nail under UV light. I want to draw two Rose flowers on the nail using blooming gel. As I told you before, blooming gel will make the color spread on the surface of the nail. Since I want to draw two flowers, the first one will spread too wide while I take my time to draw the second one. To avoid this, I’m going to apply the blooming gel on half the surface of the nail and start drawing the first Rose. Now let’s put the nail under LED light.
Now let’s add the blooming gel to the other half of the nail where I want to design the second flower. Now let’s design the second flower. Now put the nail under LED light. When the cover gel is dry, I want to add a thin red cover on the nail so the white rose has a red shine on top. We can’t use red gelish since it will cover the surface and hide the design and you’ll get a plain red nail. To get a glass feel for your red color, mix a drop of your red gelish with a drop of top shine. Use your brush to mix them and you should get a pale red-based color. Use your brush to add it to the nail.
As you can see, the mix doesn’t cover the surface but gives it a glassy red cover. Let’s put the nail under LED light. Now I want to add a shadow to my design. Put a little white gelish on your palette and add a tiny bit of red gelish to it. We draw the outer lines of the flower using this mix. Since it’s a little too pale, I’ll add a bit redder. Let’s put the nail under LED light again. At last, let’s add a layer of top shine.
In this item, we covered the usage and design with blooming gel. You can use your own talent in design to draw any form or shape you want. I hope this tutorial has been useful to you.