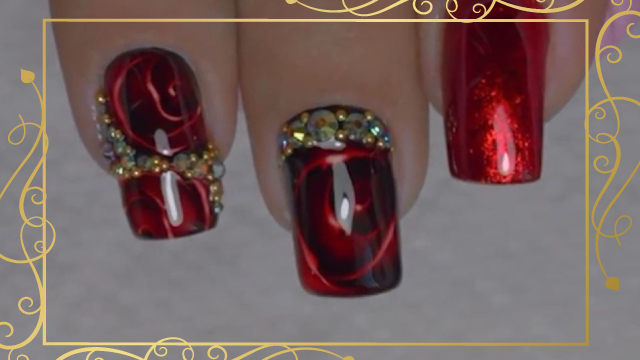
How To: Nail Design Using Sugar Nail Powder
In this tutorial, you’ll see a nail design using blooming gel. This video is provided by Ati Beauty Academy.
Instructions:
Greetings. In this tutorial, I want to show you an item done using sugar nail powder. For this item, we will need sugar nail powder, and gelish. You will also need to use an LED machine.
First, let’s add a thin layer of black gelish on the nail. Put the nail under LED light. After removing the nail from under LED light, you must use a top shine. This is because we want to cover the surface and eliminate that sticky surface, so the sugar nail powder won’t stick to the whole surface of the nail. Now let’s put the nail under LED light once more.
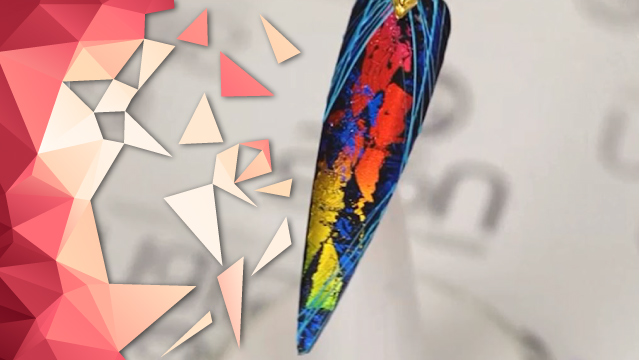
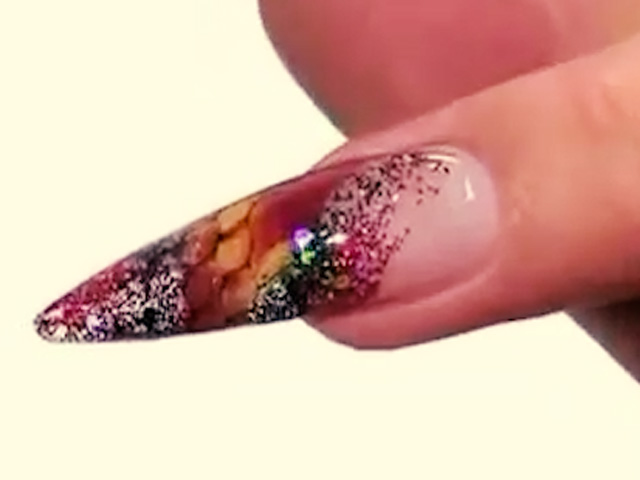
Now we want to use paint gel pain to draw on the nail. I’m going to draw an owl. You can design anything you like. Don’t put the nail under LED light when the design is over. The gel pain must be wet. I’m going to use three different colors of sugar powder. When applying your sugar powder, start from the bottom up. Let’s use the pink one first up to the point where we want this color. Let’s wait for a little and then drop the excess powder. Now the next one. Now let’s put it under LED light.
When the nail is removed you can use a brush or cloth to remove the excess powder stuck to the nail. There’s no need to apply a top shine to the nail because that would ruin the sugary look of the nail. Now let’s use the same technique for another design.
Apply a thin layer of black gelish. Try to use dark gels for this method because it will help the sugar powder look better on the nail. Let’s put the nail under LED light. Apply your top shine to eliminate the stickiness of the nail. Now let’s put it back under LED light.
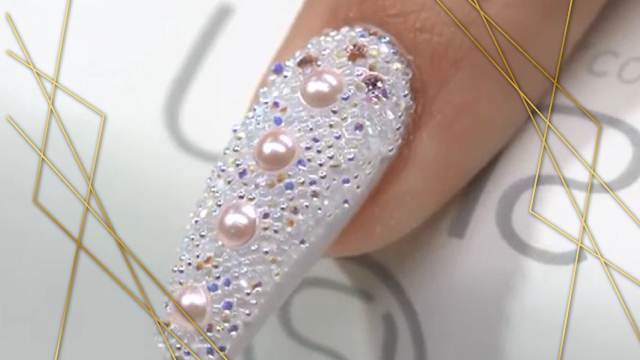
Now let’s start the design using white gel paint. Add the sugar powder when the gel pain is still wet. I'd like to use two colors here. Don’t worry about mixing your sugar powders because when one color is added on the nail, the next one will not stick to the same area anymore. Let’s put it back under UV light.
Our work is now done. As I told you before, there’s no need for a top shine after this step. I hope you have enjoyed this tutorial. Until next time, goodbye.