How To: PhiBrows Micro-Blading Tutorial
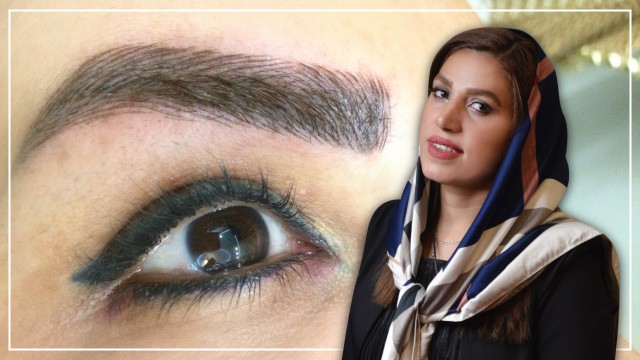
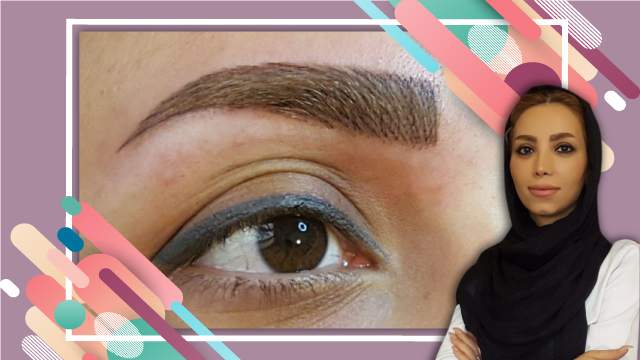
Micro-Blading refers to a semi-permanent eyebrow make-up method in which a handheld device is used to deposit colour pigments superficially under the skin. If you’re seeking a full striking eyebrow look, micro-blading is one of the most reliable methods ever existed.
Before getting started, make the treatment are numb using appropriate anesthetic material. Then, begin mapping out the eyebrow design with a make-up pencil based on the client’s face shape.
Make sure of the symmetry of your design with the Brow Symmetry mobile App which helps check if the design is perfectly symmetrical. In the next step, the main process begins by drawing hair-like strokes among the natural brow hair. In the following tutorial, you can watch a full instruction of how it’s performed properly.
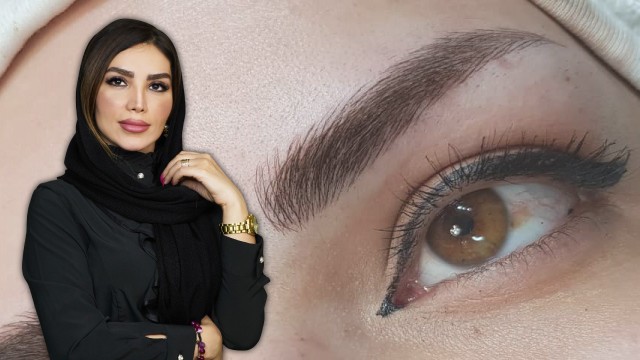
To join the instruction courses presented by Ms. Parisa Matar, please dial the phone numbers available.
Instructions:
Hello everyone, I'm Parisa Matar, a PhiBrows artist and a professional micro-blading instructor as well. Having five years of experience in this field, I'm currently instructing latest methods regarding this career. Today, I'm gonna show you a PhiBrows technique full of useful tips which I hope you will find interesting. well, to begin with the process, I've made the treatment area numb using suitable anesthetics. Then,there comes the mapping out step, but before going for that, we need to have consulation with the clients about what kind of brow design they'd like to have. mapping out begins with finding the symmetry point which is right above the nose bone, I'll make the symmetry by drawing a straight line along the nose bone.
Note that this step is very important, as we'll make all the symmetry based on this line in the middle of forehead. in the next step, I'll draw the brows crown based on its particular rules. various tools can be used for brows mapping out one of which is the divider, this tool helps us to do more precisely based on the Φ rule. there are some more things to keep in mind while doing the brow design. For those who like to have wide brows, you better extend the brows either from the bottom or the top. note that it's better to extend it from the top for those whose brows are nearer to the eyes. now determine the brows arch according to the client's face shape. actually, for mapping out, we first need to determine three main golden points which are.
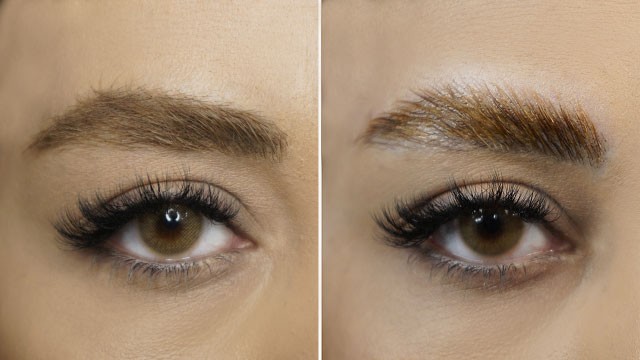
The crown point, the point where the brow starts falling (arch), and the brows tail point. These three points must be well symmetric in both brows so that they appear exactly similar to each other. after mapping out, it comes to check the symmetry of our work. For this purpose I'll use the Brow Symmetry mobile App. This App uses standard lines to help check if the six golden points on the brows are perfectly symmetric. This way we can make sure if our designed brows are 100% symmetrical so we can proceed in our treatment. when mapping out is completed, here comes the pigmentation process. For this client I've prepared PhiBrows brown 2 pigment which is similar in colour to her natural brow.
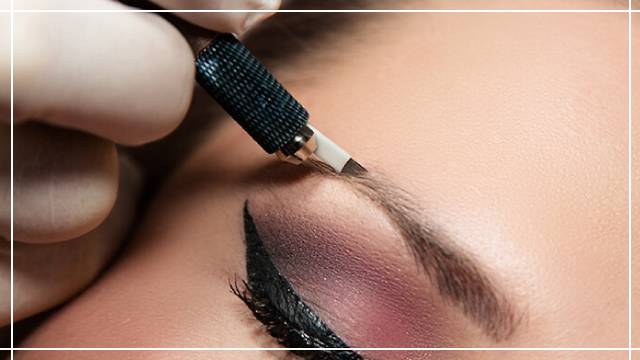
She didn't want it to be too dark that's why I chose a light PhiBrows colour. note that every pigmentation needle type requires its own method in drawing the strokes. now I'm using a slope needle and this technique is specifically used for slope needles which is different from that of U needles. I'll start drawing strokes from the crown point. keep in mind that you must apply all PhiBrows stages in order. in order to implant the pigments properly, we need to hold the skin stretched with the two fingers of the free hand and stretch the bottom of the brow with the first finger of the other hand. the skin should never move along with the needle tip. If the skin moves up and down like this, we won't get a good result out of it.
Also keep in mind that all the strokes are drown downwards from the top. while doing the last 2/3 of the brow length, we never move the needle from bottom to the top. but on the crown area, as you saw, it's the exact opposite,we moved from bottom to the top because if we draw from the top, the colour will spread under the skin. be more careful while you're on the arch point so that you'll get the expected result. the pigments should be never put too deep in the skin. These tips will all be effective to the durability of our work and to avoid colour spreading under the skin. in fact, there are lots of things to keep in mind in the PhiBrows process which I'll try to say at least 50 of them during this tutorial.
Every single one of these tips that might be sometimes skipped by many technicians could be very influential on the final result. like deep cuts, possible bleeding during the work, moving the needle in the wrong direction, excessive repeats on the strokes, they all could spoil the look of brow. you might have noticed that I don't remove the colour off the skin after putting each stroke. however, if you're a beginner without much experience, I suggest removing the excess colour so that you won't lose the design tracks. This way you can avoid crossing the brow design outlines. but later on when you become more experienced, you can leave the excess colour on the skin to help have a better absorption.
Well, now I've put the main strokes on one eyebrow. We never complete one brow before going for the other one, we must apply each step to both brows together. now it's time to make the colour fixed on the brow, in fact we give a shock to the colour to have a better implant. so now I'll go for this step. after implanting the strokes, here comes the colour stabilization. in this step, the micro-brush is used to fix the colour on the brow area. This is done by covering the whole area with colour. We will also renew the anesthetic effect in this step so we can go on complete the treatment. actually, each step requires its own anesthesia. in fact, in each step one particular anesthetic works very well.
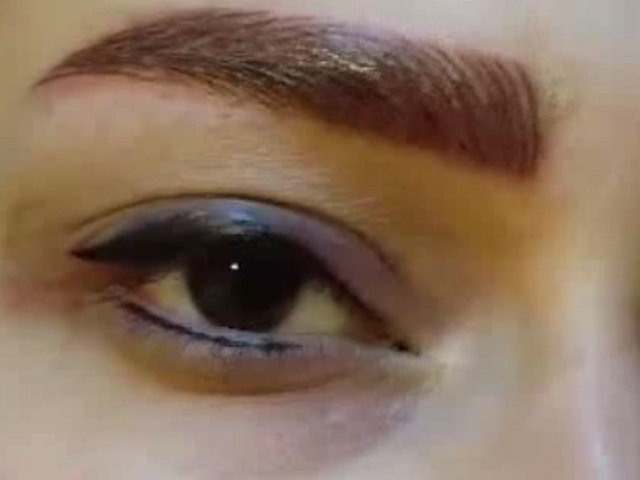
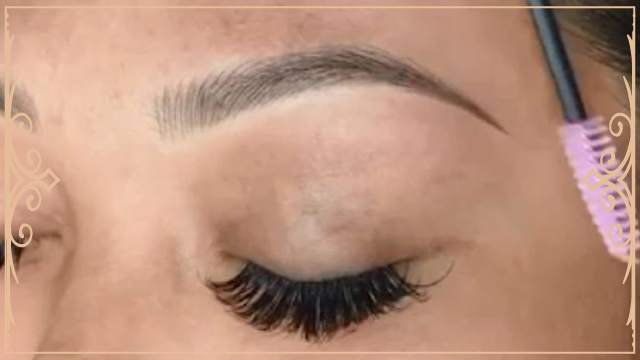
As you see, this client doesn't seem to be feeling any pain, this has to be done painlessly without bleeding. when bleeding, as blood starts coming out, it actually prevents to have a proper colour implant. well, as you see, I've applied the anesthetic to the area, now I'll put a plastic cover and leave it on for 10 minutes, meanwhile I'll go work on the other brow. after putting main strokes on both brows and doing the colour mask, it's time to repeat drawing strokes. the brows each received ten minutes of colour mask,I'll peel off the cover, remove the colour mask and start drawing on the previous strokes. now, you can see how delicately the main strokes have been created, this step will be repeating on the strokes to complete the pigmentation.
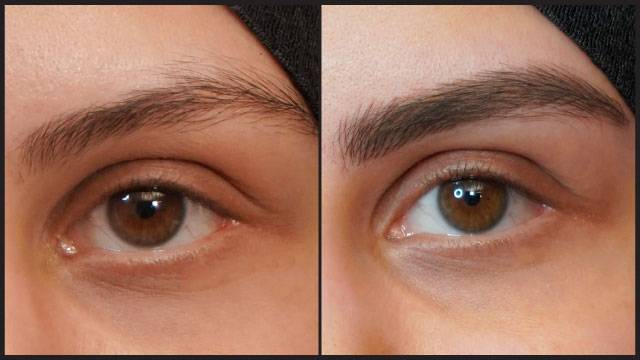
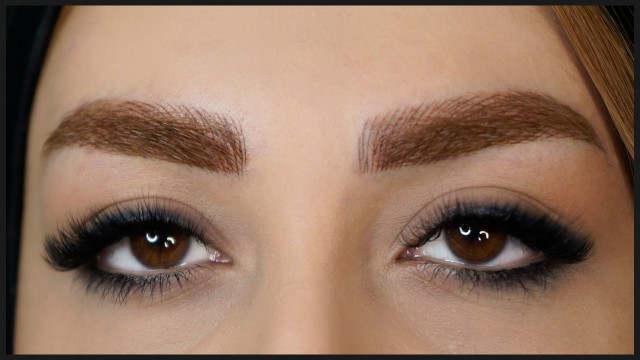
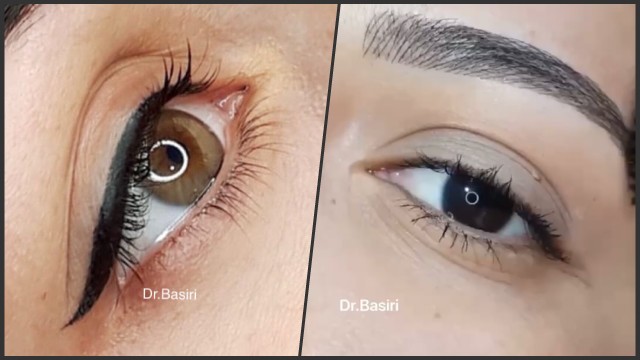
As you might see this part, the strokes have been put one after another which are in perfect match with the natural brow. very well, the pigmentation process is finished for this client. you can see how the strokes are neatly put among the natural brow. you can see, in addition to brow shaping and symmetry, the flaws have been totally removed. PhiBrows treatment involves many important points which I tried to mention some of them during this tutorial. so you can have a more durable result without colour spreading. To learn more about these techniques, you can attend our instruction courses. Thanks a lot for watching us.