How To: Ombre & Highlight Combination
In this tutorial, we will teach you all about a mixed Ombre and highlight method. This video was provided by Mrs. Anousha Shafi’e. To join our classes, please contact us at , and to order Valvar products contact us at .
Instructions:
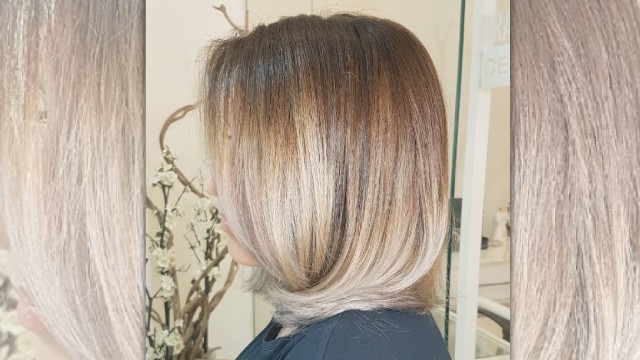
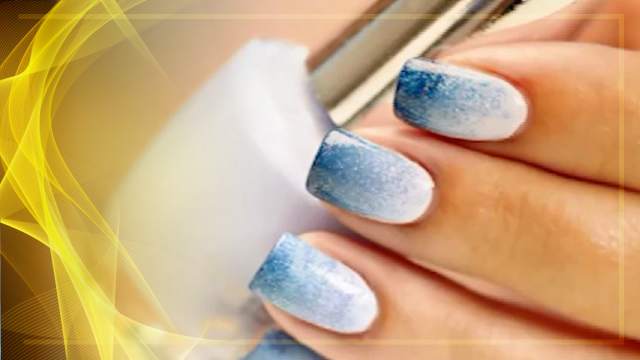
Greetings to all of you watching Rojelab.net. I am Anousha Shafi’e. I am a hairstylist and formula expert. Today I would like to show you a new and exciting item. I hope this technique is useful to you. This is mixed technic. Around the head, we will apply an Ombre highlight and on the top, we’ll use the highlighting cap to highlight the hair.
Most women prefer not to highlight the hair around the head from the root, but as the part on the top to be highlighter from the root and also in the back, therefore we have separate the hair like this and now we can start teasing the hair hanging around the head. Separate the hair in V-shaped layers and then start the Ombre process however, you prefer. If the client prefers to have the highlight on the lower part of the layer, you can end the teasing here, and if you want to highlight the hair more, you can push the hair a little higher. One of the most important factor, which can help you reach the bleaching level you want with your Ombre highlight, is that you should apply your bleaching material to a very thin layer of hair.
The thinner you choose your layer, the sooner it will reach its intended bleach and you will use less material in the process. After teasing this layer, let’s move to the front and tease this layer the same way. Tease the hair layers all around the head and make sure all the layers are very thin. As you can see, I have this much space between the layer and the roots. After teasing all the layers, we can start applying the material. I have spoken about applying material many times before, but since last year until now I have taught thousands of hairstyling students in seminars and classes and I have realized most students have issues when applying the material to this layer close to the teased area of the hair.
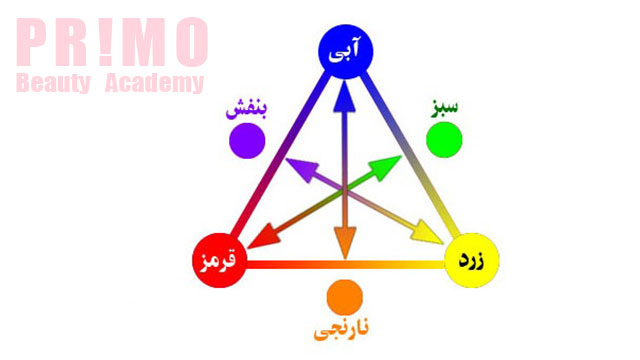
One of the reasons for redness you might see in this area is because you do not tease the hair the right way and the second reason is how you apply the material. Apply a bit of the material on the foil wrap to the middle of the hair layer. You might notice that my bleaching material is green. I used a white bleaching powder and a plant-based volume two oxidant from Valvar, which will help prevent any damage to your hair. If you are working with dry or fragile hair, it is much better if you use plant-based products from Valvar to help you get a better result.
We applied the material to until the end of the layer and now we can move to the top of the layer near the teased hair. If you apply the material to this area like this, using the wider side of the brush, it will create a line on the hair, which look ugly. The better choice is to flip the brush and use it this way to apply the material to the top of the layer. After applying the material, bend the foil from both sides and it is better if the sides of the foil are not smeared with material to avoid getting it to the other layers. Therefore, the first thing we do is to apply the material to all the layers around the head and then wrap them in foil layers.
After wrapping all the layers around the head in foil wraps,
We can move to the top of the head and use a highlighting cap, which I will show you now. I put the layers I wanted to apply the Ombre highlight to inside foil wraps. I am using a plastic cover after brushing the hair at the top to the back. I use the cover so if there was any kind of leakage, it will not affect the rest of the hair. Apply some baby powder inside the plastic cap, put it on the head and start pulling the hair layers out. There are times when the client prefers to have ninety percent of the hair highlighted, in which case you can pull the hair out of all the holes on the cap. In these cases, the rules that we usually use do not apply and we pull the hair out of all the holes and highlight them.
However, sometimes the clients prefer to have the highlights with a little more space between them in which case you pull the hair out of one whole and then skip one and move to the other. Let’s pull one layer starting in the middle of the forehead, and then move to the second one to increase our speed. Now move to the next hole and pull the hair out. Try to pull the hair out of the layers in a direct line, meaning start in the front,
Then pull the hair out of the hole directly behind it and then behind this one and so on and so forth. If you are using a different type of cap and it does not have holes like this, you can make holes on the cap yourself and pull the hair layers out that way.
Either way, I usually use this method and pull the hair out in a direct line. There is a small volume of hair remaining on this mannequin head, but on an actual head, it is easy to pull the hair layers out. Keep in mind that it is better to brush the hair beforehand if the hair is curly which will make the process much easier. After pulling the hair out of the cap, you can start applying the material. It is common to apply the material all across the cap but if you put foil wraps on the cap it will increase the speed of the process since foil wraps produce more heat and it will help bleach the layer equally on all parts. This is because the root is usually warmer and will bleach faster, the middle of the layer will take more time, and the end of the layer will bleach faster too.
When you wrap the layers in foil, it will help you reach the level of bleach faster. I applied the material to the hair and covered the area using a foil layer. We will wait for these layers to bleach but meanwhile, let’s keep an eye on the Ombre highlights as well. If you needed to reapply the material, you can use the blue powder and anti-red oxidant. Otherwise, remove the material from the hair layers with a clean cloth. When all the hair layers including the top of the hair reached their bleaching level,
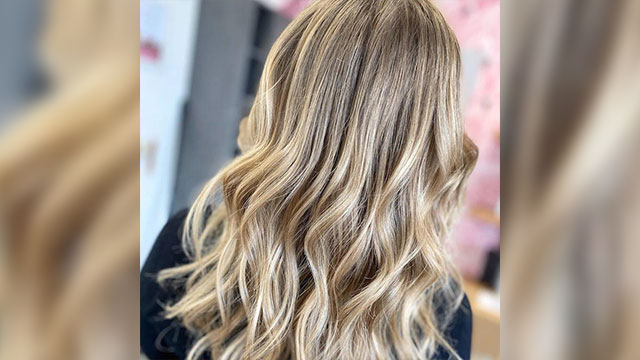
We should rinse the hair and then dye the hair.
The technique we talked about here is a new and easy method. You do not always have to wait for others to come up with new styles. You can invent your own methods. If you are interested in joining our classes, please contact us at the numbers provided in the description. Until next time, goodbye.