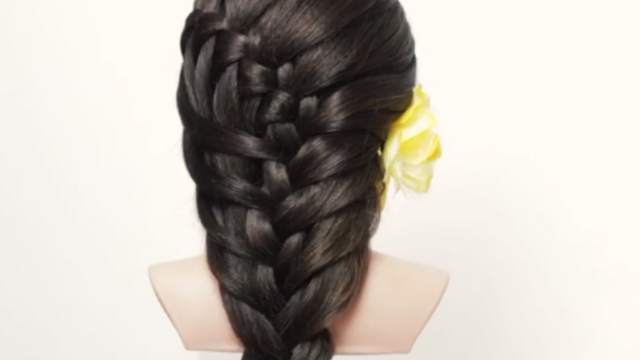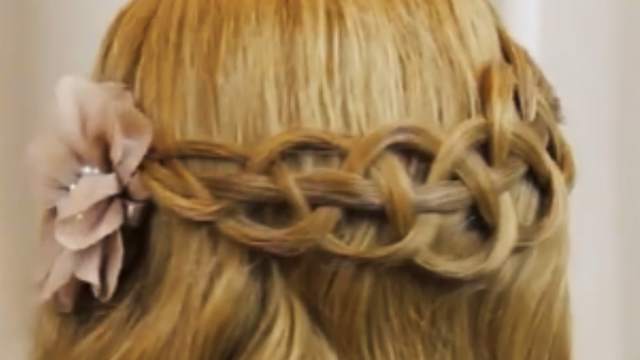
How To: Flower Side Braid
In this brief tutorial, you will see the steps to a side braid.
Instructions:
Greetings. I’m Neda from Noghre Negar Beauty Institute. I’m here today with a tutorial on a hair braid.
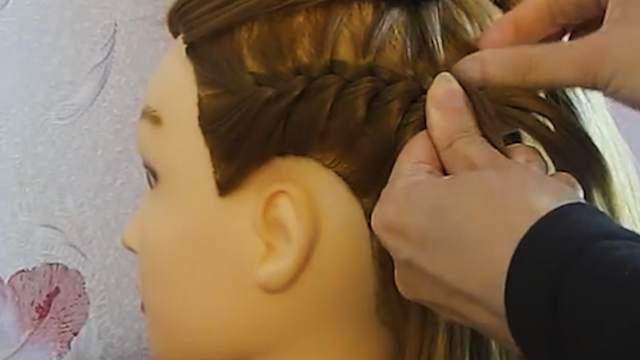
I’ve separated my model’s hair around the ears into two parts. We don’t need the hair in the back, for now, so we’re just going to leave it be. Pick a batch of hair from the separated part around the ear. Separate that part into two smaller pieces. Twist the two parts and when you’ve twisted some of the hair, pull some of the hair out to relax it. Do this after every few twists. Put it aside or fix it somewhere.
Separate another part. Separate it into two parts and twist them. The twist shouldn’t be too tight or too loose. It should be so that you can pull some of the hair out during the process. Separate another part, split it in half and continue like before. Now loosen the twist a little and pull them out a bit. Do the same for the last part and continue till the end and loosen it.
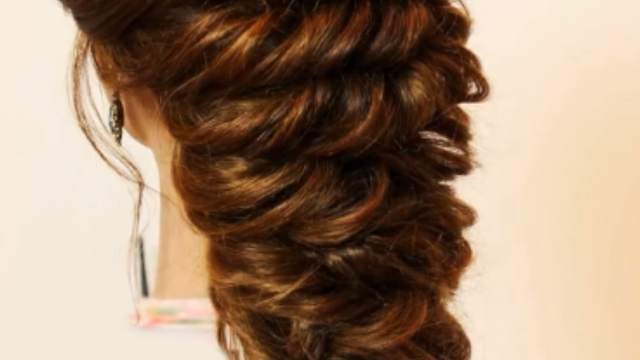
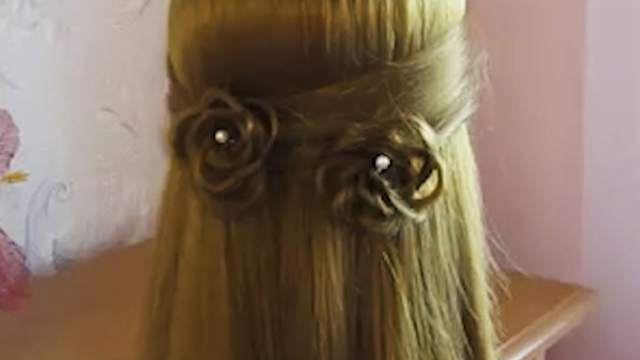
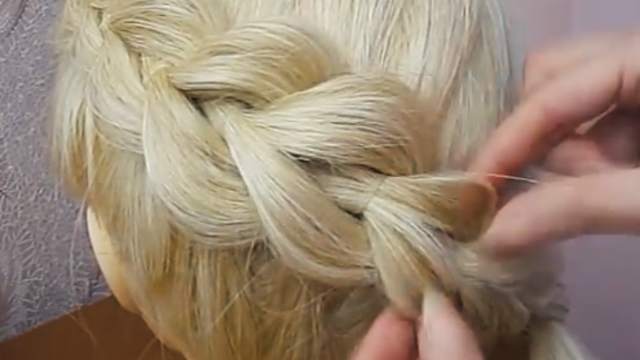
We twisted the hair and pulled them out a little to loosen them as I showed you on both sides of the hair. In the end, we have connected the two sides together. Now separate the end of the hair into three parts, do a simple braid, and pull the parts out a little. Wrap this part around in the form of a flower and fix it at the end of the braid.
This is the finished braid. I’ve braided the end of the hair in the form of a flower and fixed it there. I’ve used pearls to make my work look more beautiful. You can use any decorative material you want based on your preference.
I hope you have enjoyed this braiding tutorial. I hope to see you over at Noghre Negar Beauty Institute.