How To: Applying Face Contour
In this tutorial, you will watch a step-by-step tutorial to contouring. This video was provided by Mrs. Arezoo Shafi’e.
Instructions:
Greetings. I am Arezoo Shafi’e. Because of your requests, I want to talk to you about face contour today.
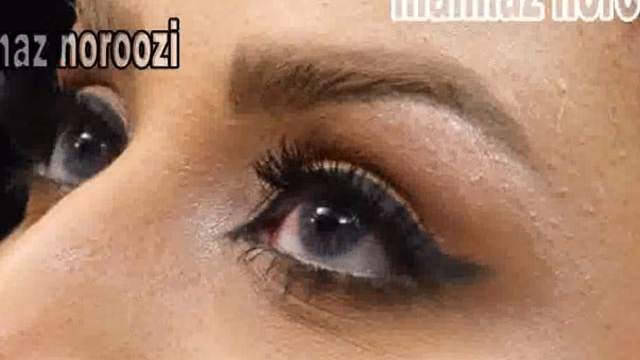
To begin with, we have to start by applying eyemakeup. We apply the makeup with attention to the anatomy of the face and eyes since my model has a bit of loose skin on their eyes. We will apply a dark contour on the upper eyelids and right below the eyebrows. We will cover the eyelids using an oily shade using brush number ten. We will use this material to cover two-thirds of the eyelids. I will fade the material and use my sponge to remove the excess material.
Cover the area of the eyebrows using a lighter shade. As you all know, we separate the area from the eyebrows to the eyelashes into five different parts. One of the lines is directly under the eyebrows. The second one is the area of the upper part of the eyelids. The third part is the line separating the area one-third below the eyebrows on the eyelids. The fourth part is the area directly on the eyes and the fifth in the area directly above the eyelashes. I will apply the lighter shade on the eyelids. This will create a little space between the lighter shade and the third line of the eyelids where.
We can leave a little darker compared to the rest of the areas.
I will face this shade using a clean pad. Keep in mind that all this is considered only the foundation for our eyeshadow. I will draw a darker area on this line. Use your light shade to create a distinct border between the darker and lighter shades. This type of eyemakeup is especially suitable for people with a loose or sagging eyelid, which we can use to hide this defect. Fade the lines again. We will check the foundation for the makeup on both eyes to make sure they are the same. The client should never open her eyes during the application of the foundation.
For the eyes because the material is oily and will smear around.
We will use our dark and light shades to fade our makeup. It is better if we do the same process on both eyes exactly to make the process easier. I will apply the light eyeshadow below the eyebrows. Use the brush to apply and fade the makeup at the same time. After this, we can focus on fading the shades to hide the lines. Let’s reapply the shade. Let’s apply a peachy color to this area. At this point, use a pencil or a shading brush to form and style the eyebrows and apply a shadow. The material you use for the eyebrows should not be too oily. For a contouring process, we should consider the space between the two eyebrows and their angles.
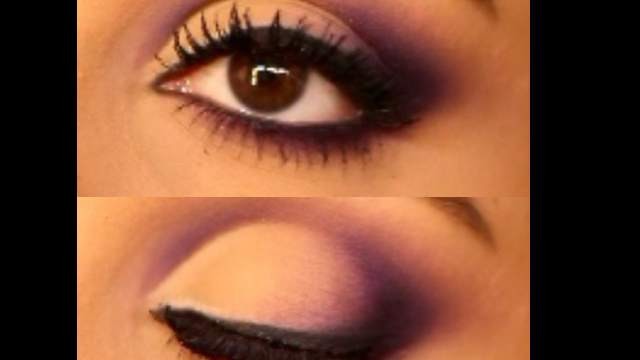
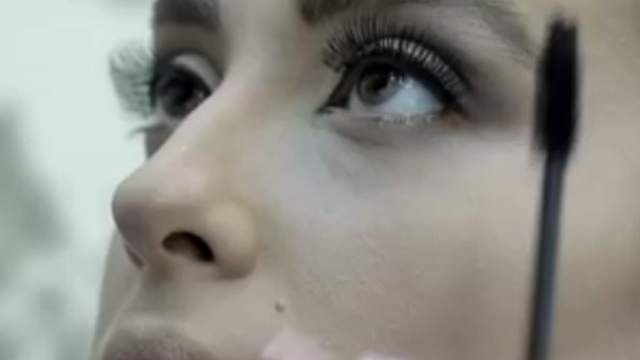
I use an eyebrow polish to apply hachures and shade inside the eyebrows. When your brush is full of material, never start at the tail or crown of the eyebrows. Instead, start in the middles to apply the bulk of the material to the thickest part of the eyebrow. On faces where the eyes and eyebrows account for a large area of the face, you can use the same material to draw small hair-like hachures below the eyebrows. This will make the eyebrows have a more natural look. I can draw the eyeliner for my model now. Make sure to draw a thin eyeliner. Let’s apply the eyeliner to the other eye as well. Draw the eyeliner long enough to cover the whole length of the eyelash. You should always draw the eyeliner when the eyes are open.
Now we can attach the false lashes. The more natural the false lashes are, the better the makeup will look. Do not attach the false lashes from the beginning of the lash line. Instead, start a little inside the lash line. The type of glue we use to attach the eyelash is very important. Apply the concealer under the eyes. It is better if there is a gold background color to it. This will help cover the dark spots of freckles around the eyes completely. We can use a light eyeshadow for the inner corner of the eyes using a brush with a tilted head. It is better if you use a shiny highlight. Now let’s use another color to extend the lower eyelids. I can use a brown aqua to draw the eyeliner for the lower lash line. When the eyeshadow for the lower eyelids is finished, we can start applying the cream powder for the face.
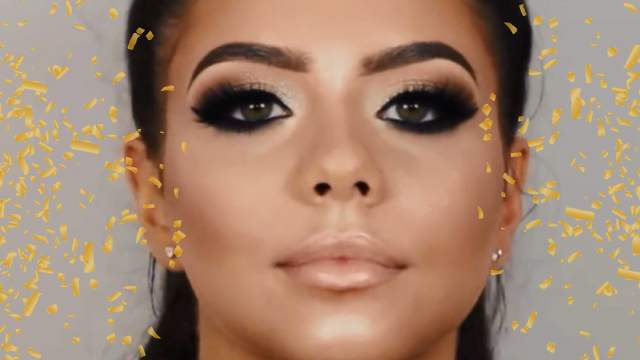
Your cream powder should be chosen based on the foundation you used. The cream powder should suit the natural skin type, hide the skin defects and compliment the natural color of the face. The cream powder I use can only be applied using hands. I applying a peach-colored fixing powder under the eyes. We will wait a few minutes for the skin to absorb the fixing powder. We can use a dark shade to contour the nose. The length of the two parallel lines on the sides of the nose depends on the length of the nose itself. How you go about fading the contour on the nose also depends on the natural form of the nose. Now we can apply the contour to the cheeks. We can ask the model to smile broadly, so we can guess the shape and location of the cheekbone. We have different methods to make add a little volume to the cheeks.
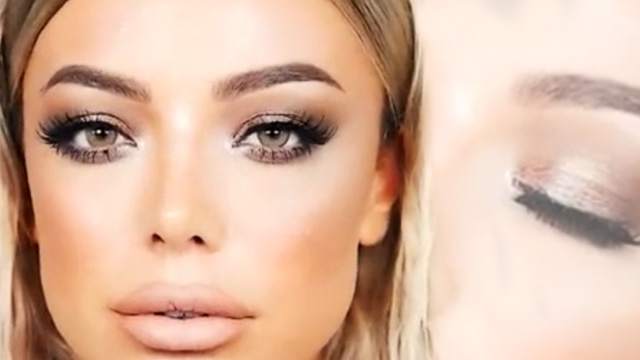
If you draw the contour in the wrong place, you can affect how old the model looks. Apply a light shade on the jaws. Now a little on the cheekbone. Let’s apply some more peach-colored material to add some volume to this area. Let’s use a white shadow on the temples and cheekbones. Also here. I use the white shade to create volume. After applying the material, we should fade the dark and light shades. Use some of the light shade to apply some volume on the chin. After fading the shades, apply the fixing powder across the face. After fixing the makeup, it is time to apply the lipstick. You can even use special waterproof material to prevent the lipstick from fading away.
Make sure to consider the restrictions when it comes to expanding the lips and take care not to ruin the relationship between the distance from the lips to the nose and lower lip to the chin. If the space between the upper lip and nose is not large, you can only apply the material to the actual lip and not more. This is also true for the lower lip. Apply a darker shade on the sides of the lips and a lighter shade on the inside and center of the lips. Use a lighter color inside the lips. Do the same for the exact spot on the upper lip as well. This concludes our tutorial. I hope to see you all in our classes.