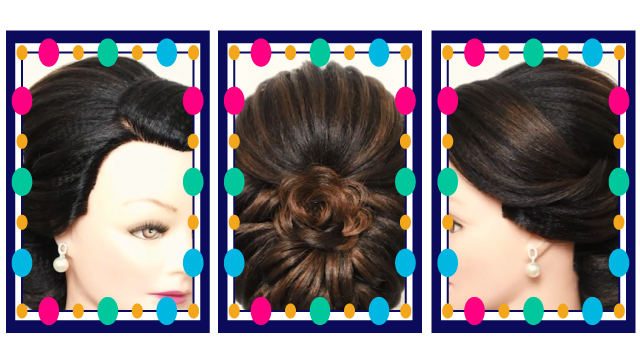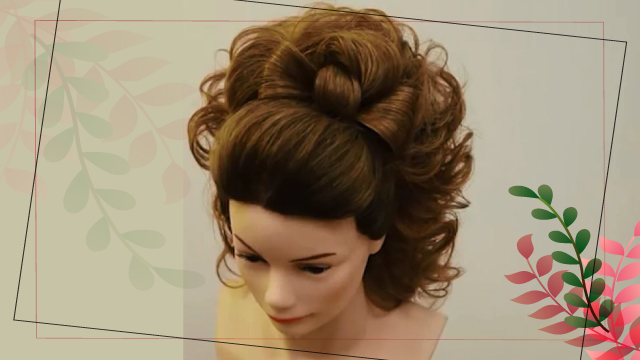
How To: Waived Chignon
In this tutorial, we covered how to design a waved chignon. This video was provided by Chatr-E-Gol Beauty Academy. To join our classes, please contact us at .
Instructions:
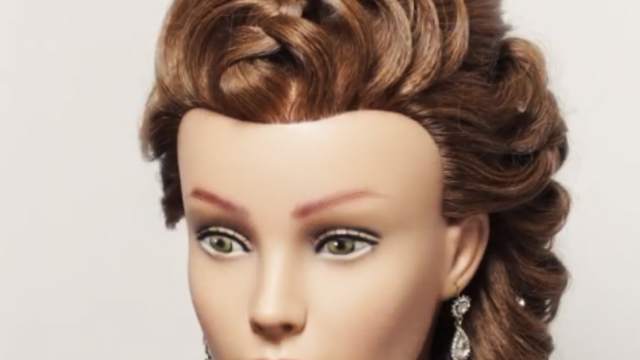
Greetings. I am Parvane Habibi. I am a hairstyle, hair formula, and haircut expert and instructor. Today I want to tell you all about a beautiful chignon. I hope you enjoy this tutorial.
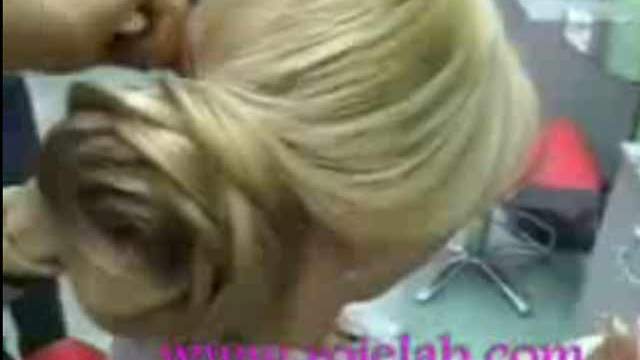
I have separated the hair already. I have separated the hair from one ear to the other as well as the hair on the crown of the head. We want to turn the hair in the back into a prosthetic. To use the hair as a prosthetic, as you told you in previous items, you have to tease the hair a lot. Tease the hair as much as you can to add volume to the hair. The hair is tangled a bit because I had teased the hair before.
In a correct tease, you do not have to reach the depths of the hair that much. The correct way of working with the hair in this process is very similar to scratching a block of ice with a knife. That same pressure and technique would be enough to tease the hair. I have seen some people fluff the hair instead of teasing. That is not the correct way of teasing the hair and it would undermine your work as well. After teasing the hair layer by layer, you should put the layers together and the layer becomes unified.
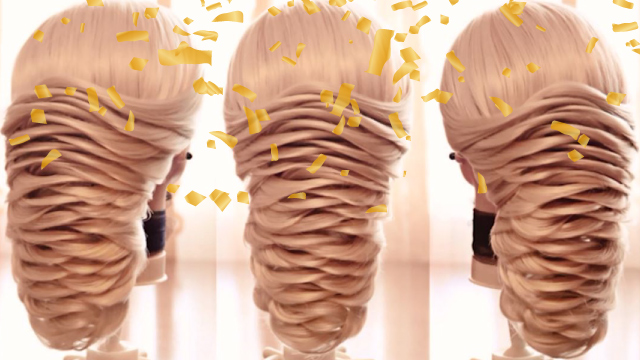
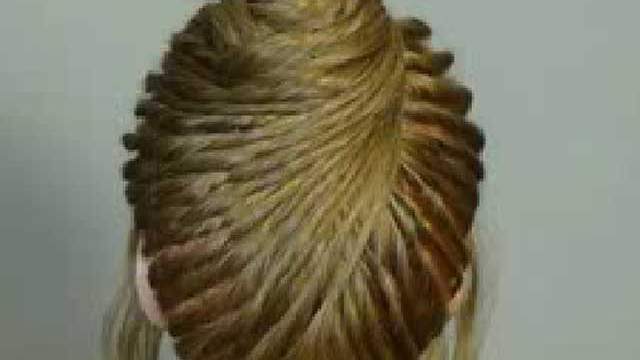
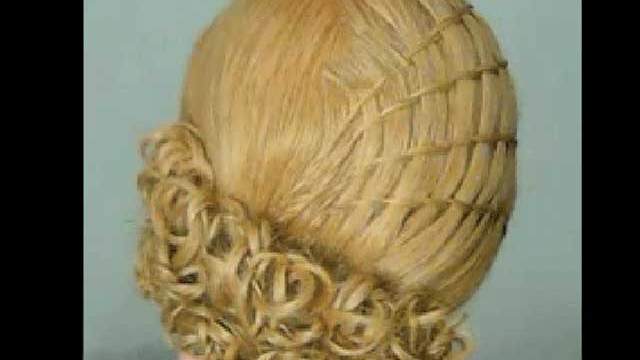
Spray the surface, below, and between the layers. Now turn the layer into a prosthetic. Bundle the hair up like this. After forming the prosthetic, tease the layers of hair on the top of the head a bit and then create lines on it. I have already explained how we can create lines on the hair in the previous videos, but let me just explain one more time for those of you who have just joined us. Use your fingers to pull a layer of hair out and then spray the hair with styling material. The mistake many students make is applying the styling spray before creating the line, which can make the hair look frizzy.
How long the lines you create on the hair are, depends on your preference. The distance between the lines follows the same rule. Spray the hair after creating the line. Style the hair some more. Again, pull the hair out and spray it to create lines. Do the same thing again. You can even style the hair more if you like. After creating the lines in the back, we move to the side of the head. We should separate the hair on the side into two parts, or even three parts if the hair has a large volume. I separate the hair into two parts
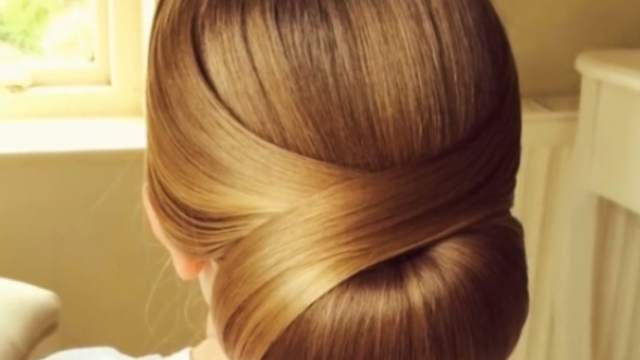
Hold the upper layer in your hand and tease it from below. This is the time to form the basic model for the chignon. If you want the hair puffier, tease the hair more, and if you want it with less volume, tease it less. This depends on what you want.
Spray the hair and then brush it. We can also create a few lines here. After spraying the hair and creating the lines, hold the hair in your hand, wave it slightly, and fix it here. Although we do not want to use the hairpin to fix the hair entirely. Just use a hairpin to fix it for the moment so we can work on this part more. After applying the hairpin, we have to work on this part more. Spray the hair, and if you like, you can create lines here as well. This depends on you and what the client wants and how much work they want to be done on their chignon. You can use some hair cream to make the process of creating lines easier. Now we can remove the hairpin we attached in the beginning. Because I want to pull the hair here and widen the layer, a little bit. Use a few hairpins to fix the hair.
Now we have to work on the lower layer. You can separate this layer into two sections as well. Whatever you like. If you want more lines or a more detailed chignon, you can separate this layer into two sections. After brushing the hair completely and removing the frizz, spray the hair a little more. Brush it. If you use a hairbrush with more space between the teeth, it can create the lines on the layer by default and help us in the process. After brushing the hair a few times in depth, keep the hair in your hand, pull the hair to the back of the previous layer, fix it like before, and hold it for the time being with a hairpin. We will spray the hair, create the lines, and do the rest of the work gradually. Pull the hair as far as you like and attach the hairpins. After we are satisfied with the style, we can spray the hair.
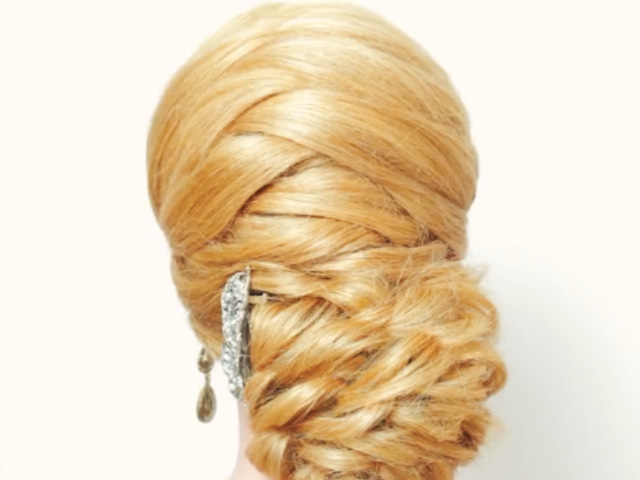
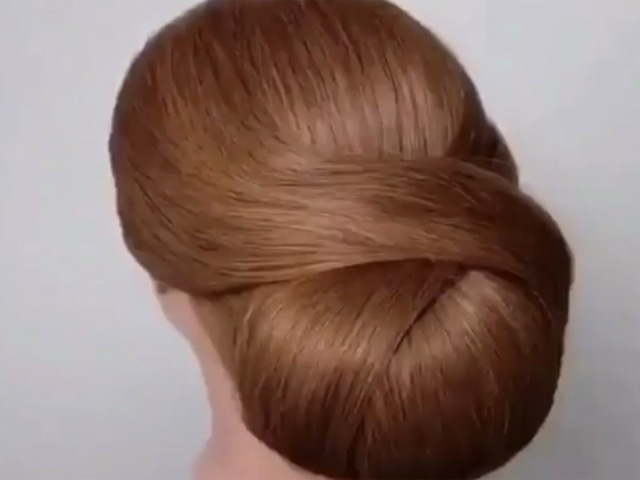
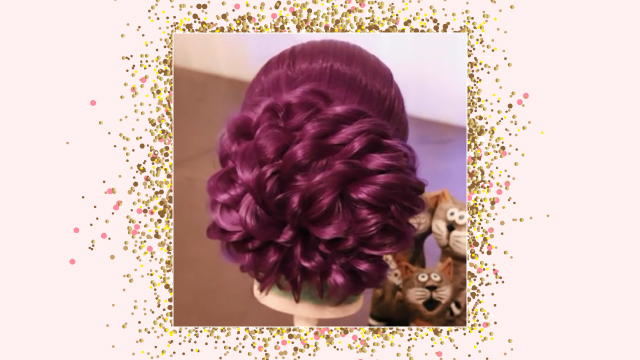
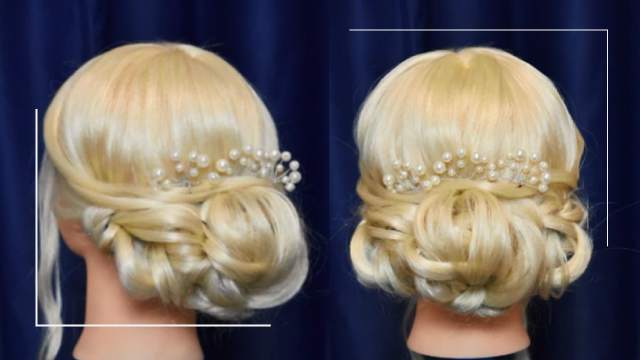
After spraying the hair, we can make the lines bolder. Now we have two waves inside each other. This chignon consists of one waved layer after another. It is a very popular chignon style and hairstylists are working on this type of chignon. They are often called waved chignons and are quite famous. Apply a little more spray and move on to the next layer, which is the layer we have moving from the top down. I the client’s hair is short, that is no problem and we can use the remainder of the hair from the crown, which we have here. We can style that layer so it takes place here. Brush the hair thoroughly and make sure there are no tangles. Spray the hair on the top and bottom. Brush the hair again and put it on top of the previous layer.
Repeat the same work as before. Attach your hairpins temporarily so we can style the hair and move to the next one. The same process will be repeated again for the next layers and we will waive the layers and put them through one another. I will do the rest of the work and come back to show you the rest. I did the same thing as before on this part as well. Now we are left with the rest of the hair. If you are working with short hair, there is not much problem and our work is done. Nevertheless, if the hair is long, you can curl the remainder of the layers and fill in the empty spaces in the back of the hair. I want to curl the remainder of this layer and put it on this empty space on the side.
We are not doing much for this part. Just remove the frizz from the hair, wrap it around your finger and put it where you want. Let’s apply some more styling spray to remove the frizz. You can also use hair cream. Brush the hair. Make sure to hold the hair tight when you brush it to avoid pulling the lines you created before and ruin the style. We can clean up the style after fixing the layer. We will not have to do this if there is no remaining hair. Since I want to use decorative flowers here, I do not have to stress over this part that much. We did the same thing here. We curled up the remainder of the layer. Now we are left with these parts, which are the remainder of the hair layers.
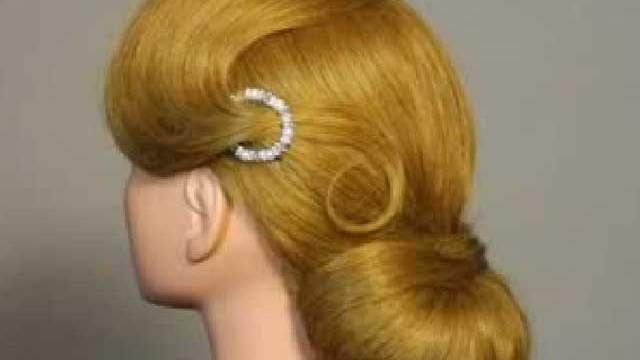
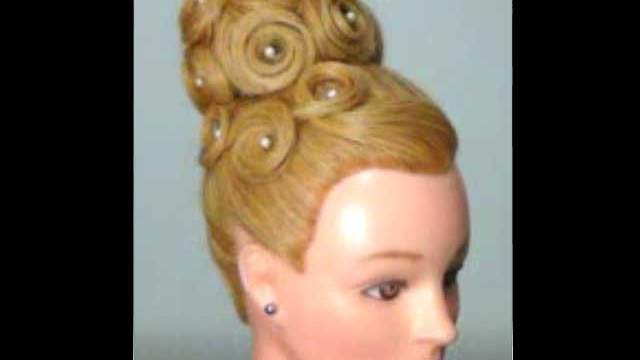
If you like, you can continue the chignon as we did so far but if you feel like the chignon is good as it is now, you can wrap the hair up and put it inside the prosthetic. If you wanted to continue, you have to continue the same way. You will have to take the layer and wave the hair and fix it. You cannot change the style now and will have to continue the same way as before. I will use a small layer, which I need on this spot, and then I can wrap the rest of the hair under the prosthetic. I will finish work and come back.
. This concludes this tutorial. We showed you how to do a waved chignon. I hope you have enjoyed this tutorial. You can use decorative ornaments inside circles any way you like. To join our private and group classes over at Chatr-E-Gol, please contact us at the numbers provided in the description.