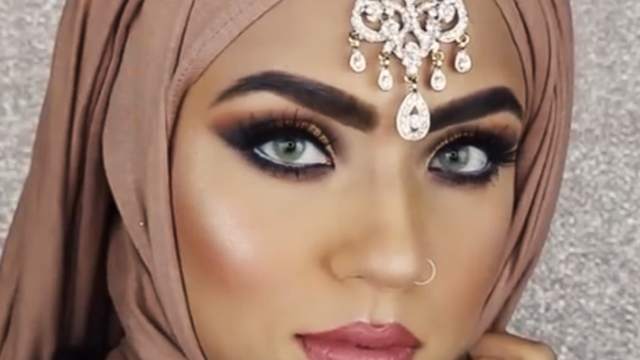
How To: Light Bridal Makeup
In this tutorial, you will learn how to apply a light, face makeup. This tutorial was provided by Noghre Negar Beauty Salon.
Instructions:
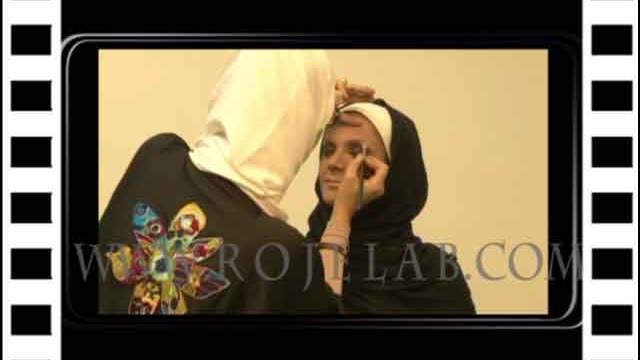
Greetings. I am Mahtab from Noghre Negar Beauty Salon. I am here today with a makeup tutorial. This tutorial covers a light makeup, which is very popular and useful.
For the start of any makeup, we have to begin by preparing the skin. Depending on the type of skin the client has, we can use dry cream powders or foundations for oily skin, and oily cream powder or foundations for dry skin. Our model has oily skin. Therefore, we will try to use a dry cream powder for this makeup.
For light makeups, we usually use lighter cream powders around the eyes since we want to apply a light makeup we require lighter material. If we start the makeup with a light basis, the continuation is easier. After applying the cream powder around the eyes, we can decide about the rest of the face. We can use the same cream powder for the rest of the face, or we can use darker material, which depends on the client, and skin color. After applying the cream powder, it is time to fix the skin. If we do not fix the skin, it will start to sweat and the makeup will start to congeal. Besides, fading wet makeup is very hard and can form spots and you can never have a clean shadow.
To fix the makeup we can use colorless fixing powders or use the same color of cream powder we used before. I chose to use a colorless fixing powder to dry the makeup. An important point to note is that you should always use the cream powder and fixing powder materials from the same brand, which can very much affect the quality of the skin. I chose to fix powder to fix the makeup because I wanted to create a softer skin. If I wanted a bit more texture on the face, I could have used pancakes instead. After the skin has been dried, it is ready for shadows and the rest of the makeup.
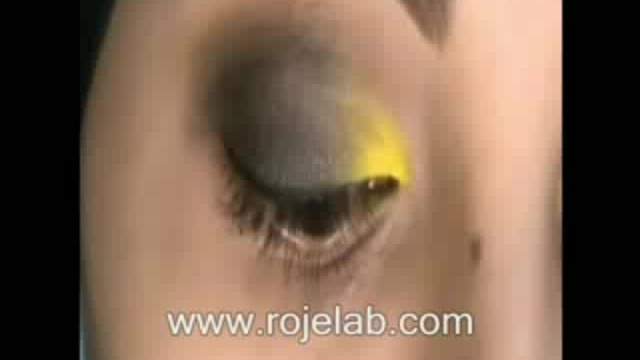
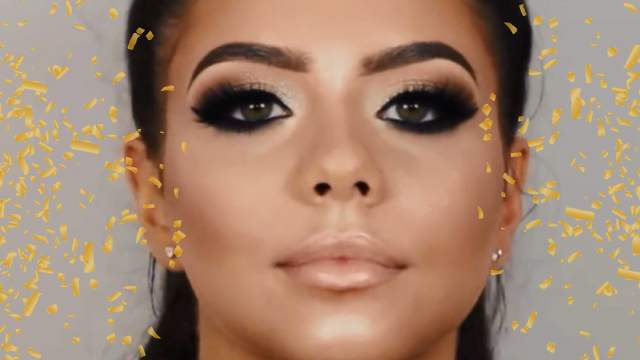
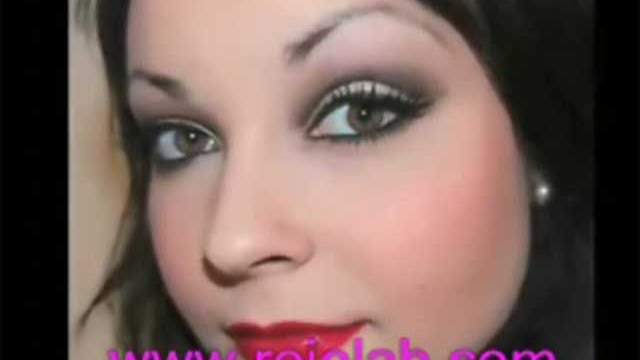
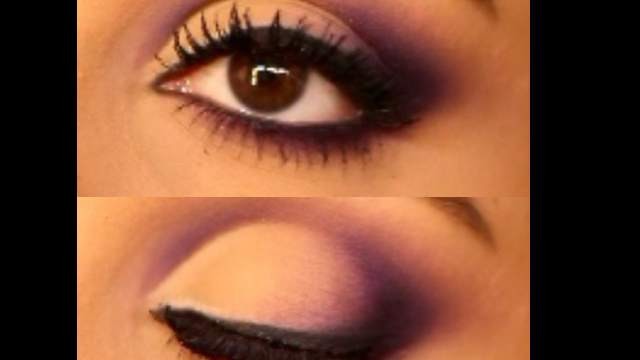
For applying a light shadow on the eyes, we usually darken the outer edge of the eyes, and use a light shade below the eyebrows and on the inner edge of the eyes. As I said before, we usually use light shades for light makeup. The themes we should use for this light makeup are different shades of brown side by side with the light shades. So the more I create the highlight behind the eyes the better it is. As you know, it is the dark and light shades that create the contrast during the shadowing process and help the shades show themselves on the face. As you can see, below the eyebrows and the inner edge of the eye is lighter than the rest of the area.
Let’s start applying more light shades to this area. So far, we have only used matte shadows. We can also use shiny shadows for our makeup to make it look better. Let’s combine both methods and avoid only using matte shadows which makes the makeup look dim, and avoid applying too many shiny shadows which makes the makeup look out of fashion. If we use a combination of both methods, we will get a much better result. We can use eyeshadow powders in the same color tone as the rest of the shadows. After applying the eyeshadows, it is time to draw the eyeliner.
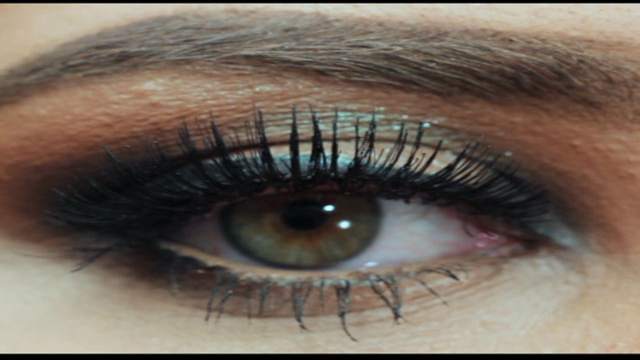
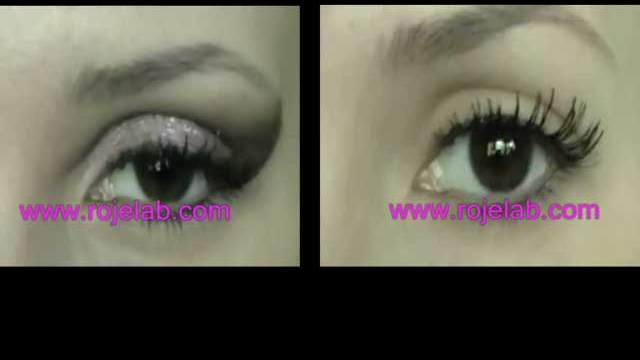
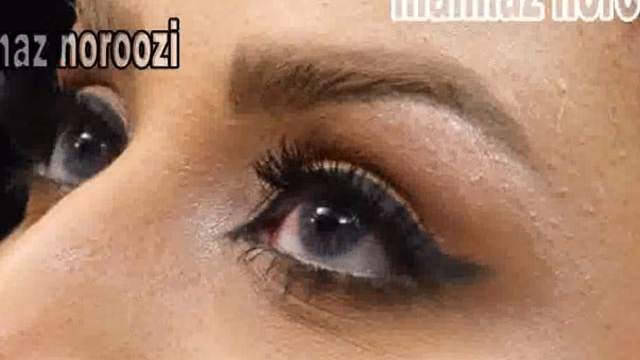
We can draw the eyeliner on the eyes from two different areas. One method is to split the eyelids in the middle with an imaginary line and then draw the eyeliner for the outer half the eyelids or we can just start from the inner edge of the eye and start drawing the eyeliner the whole way. I am drawing the eyeliner a little thicker because after attaching the false eyelashes it will look a little thin again. After drawing the eyeliner, it is time to attach the false eyelashes.
For eyes, which are not long enough, we usually use single false lashes so we can add a little more length to the eyes. Just keep in mind that if you are working on a flat eyebrow, the tail of the eyebrow should be darker than the crown. If you darken the eyebrows across, it will make the face look rough and angry looking. We can apply the cheek blusher in two forms. For longer faces, like this one, you have to draw a bean-shaped cheek blusher. So apply the darker point here, and start drawing a semicircle where the start is wider and the end is slimmer. For round faces, you have to make the face look a little longer and reduce the roundness. For these faces, start drawing the cheek blusher in a vertical semicircle to reduce the round shape of the face. Nevertheless, for long faces, it is better to draw the cheek blusher in the shape of a horizontal semicircle.