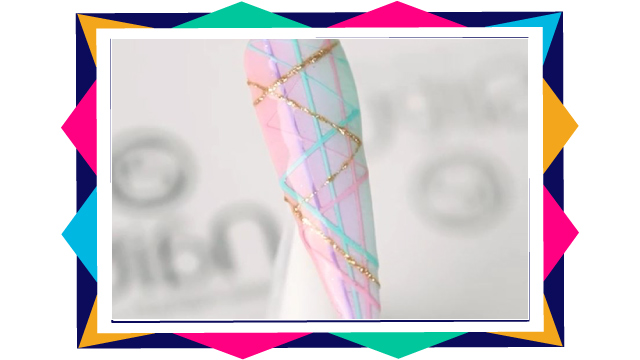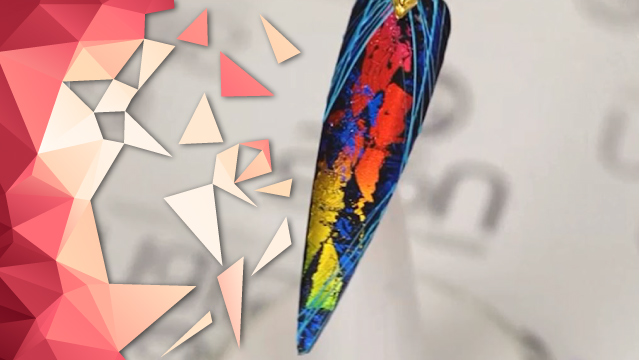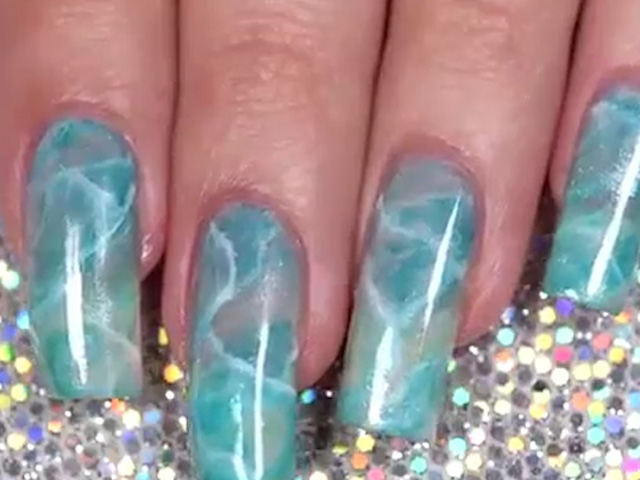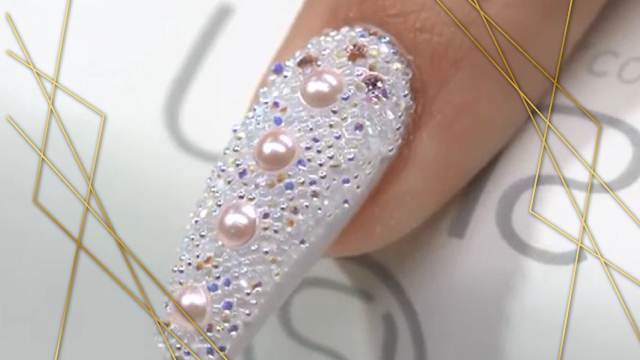
How To: Chrome Nail Design Tutorial
Chrome nails are a style that everyone who enjoys pretty and dazzling manicures must try at least once. It’s one of the most popular and striking manicures which gives the nails a special shiny look. In order to achieve the chrome look, you just need to follow the steps shown in the video below.
First apply a base colour to the nail and place it in the UV device to be dried. Then pick the specifically used pad to apply the chrome powder to the surface. In the last step, reapply the Gelish and leave the nail in the UV device.
To join the instruction classes provided by the Kimia beauty salon, please dial the numbers available.
Instructions:
Hello everyone, I'm Zahra Haddadi, the nail implant artist in the VIP Kimia beauty saloon. Today, I'm gonna show you a pretty chrome nail design. well, to get started in a chrome design procedure. first pick a colour for the background, preferably similar to the colour of the chrome. rub the gelish gently on the nail. try not to touch the cuticle and cover nail's sides and edge thoroughly with colour. after this, the nail is left in the LED device for thirty seconds. Then go for the second pass of the gelish . and leave the nail in the LED device for thirty seconds.
After applying two layers of gelish, a new layer of power gel is added to the surface. It's essential to have a totally smooth nail in order to get a good result. once again put it in the LED device for thirty seconds. apply the chrome to the nail's surface in rubbing motions using your finger or a pad as you like it. after applying the chrome powder, put one more layer of power gel to the nail. Then put it in the LED device for sixty seconds to become dry. well, dear guys, we're done with this nail design item, I hope you liked it. To attend our instruction courses, please dial the numbers provided. Thanks a lot for watching us.