How To: Make-Up For Pimply Skin
If you feel dejected about having lots of acne and pimple marks on the face, we recommend watching this tutorial to realize how elegantly you can cover face flaws with just a few easy techniques.
Today’s instruction contains the following items:
How to apply the primer
How to use the concealer
Highlighting and contouring
Fading the contoured areas
Colour harmony creation
How to apply the rouge
Eye shading
Brows make-up
How to put eye lines
Glitters for shading
False eyelashes placement
Lipstick and lip lines
Instructions:
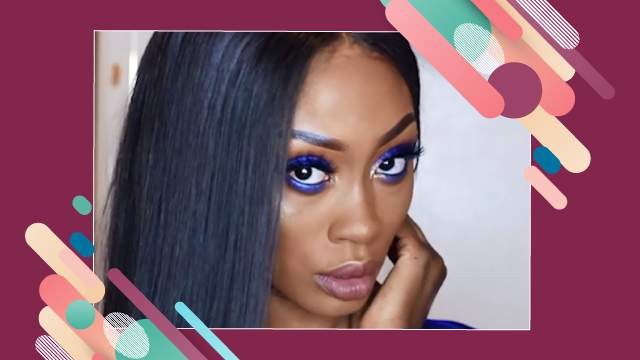
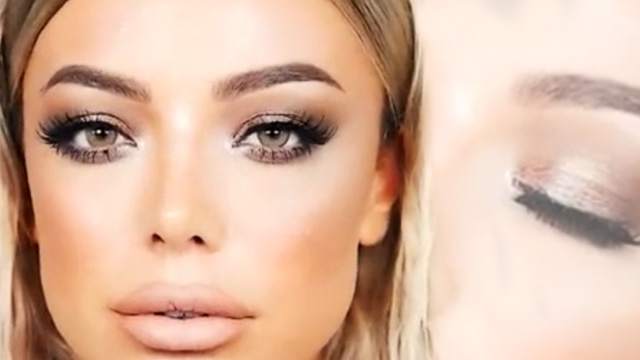
Hello to every one of you followers of Rojelab website, Today we're gonna show you how to beautify facial skin. those having pimples or pimple marks, in particular, can take advantage of this technique. Well, begin with applying the primer. We'll apply a bit of primer which helps better hydrate the skin. and prepares the face to receive make-up. I'd always rather using my finger tips to spread the primer in tapping motions. This is to make sure the skin well absorbs the primer and is fully prepared for the make-up. Then, use the concealer to disguise the pimple marks, it's also applied to other parts you want to highlight. like underneath the eyes and tops of the cheeks. as well as the center of forehead.
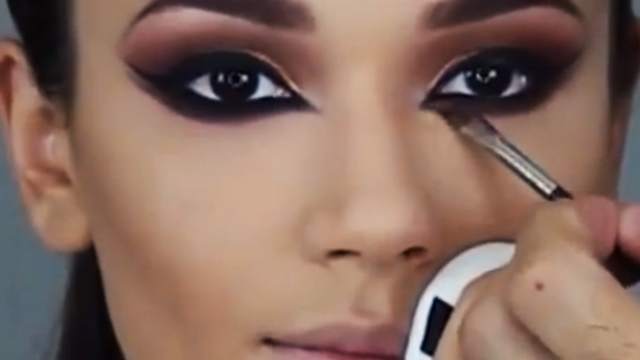
I've used the concealer instead of cream powder because it provides better coverage. now, It's time for contouring the face, apply some dark liquid cream powder to the highlighted areas and smear it with a brush. Then, start fading the contoured areas with a brush and make the skin smooth and uniform in tapping motions. now apply some fixing powder to make all these colours go well together. apply the rouge to the cheeks. well, let's go for the eye make-up. apply some concealer to the lids to get prepared for shading. dab the beauty blender on the lids. pick a dark violet colour for the shading and smear it on the lids with a suitable brush. now use the fingertip to fade the outlines of the shadings.
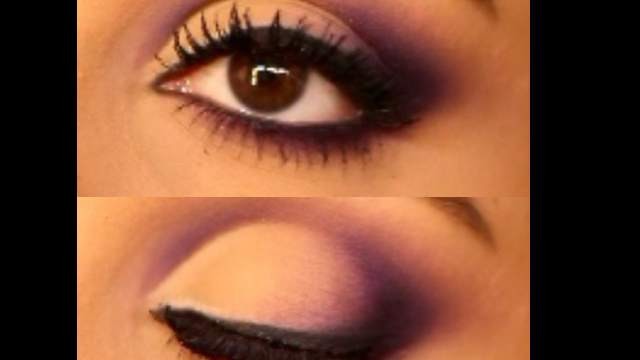
Choose a darker colour for the corners. as I'd like the shading to have a little red effect, I'll apply a red colour to the lid and spread it with a brush. apply a bit more to the corners to make the eyes look bigger. use the fingertip to spread the violet colour on the lids and pick a bright colour, preferably pink, to the inner corners. This way we can reach a good harmony of colours. pick a dark colour for underneath the eyes. extend the shading underneath the eyes till it meets the top lid shading to make the eye look more stretched out. put an eye line in violet colour. now, let's go over the brows. we'll try to give them a natural look. so we'll only fill the areas that need to be filled and try to make a good symmetry between the brows.
Apply some glitter to the inner shading with a brush. Then, put on the false lashes. pick a colourless lipstick or a very light colour for the lips. since there's a dark theme make-up on the eyes, it's a better to choose a light colour for the lips. prepare the lips and apply the lipstick. one important point to make here is that because the pimple mark above the brow is still slightly visible, use the brush to replace it with a dark bump. This makes the pimple mark less noticeable. Hope you have enjoyed watching this tutorial, see you later.