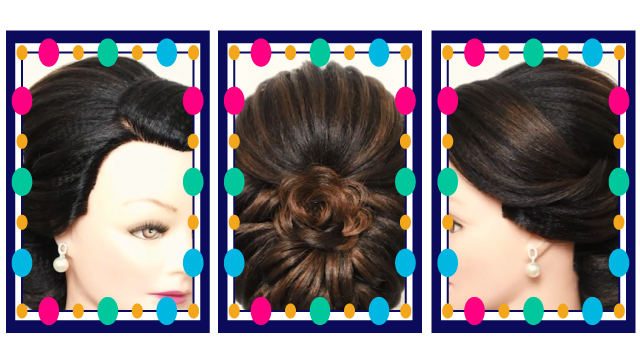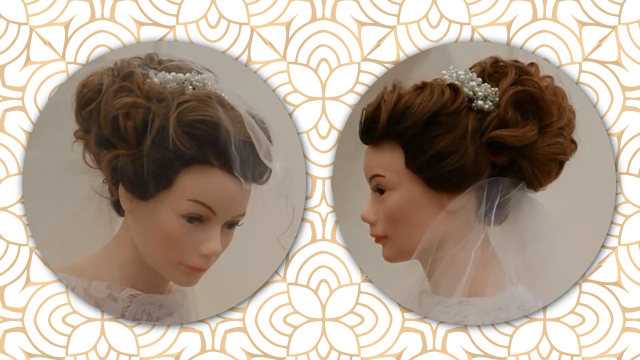
Linear Chignon (Shinion) - Simple And Beautiful
In this educational video, Ms. Parvaneh Habibi from the Chatre-Gol Beauty Salon teaches you one type of linear Chignon on the head. To attend classes, call .
Instructions:
Hello everyone! This is Parvaneh Habibi, Instructor, Manager, and founder of Chatre Gol institute with 20 years of experience.
Expert in haircut, coloring and hairstyling.
Today, we are going to teach you a Hair Chignon, I hope you enjoy it.
Dear friends, make a ponytail on the center top of the head.
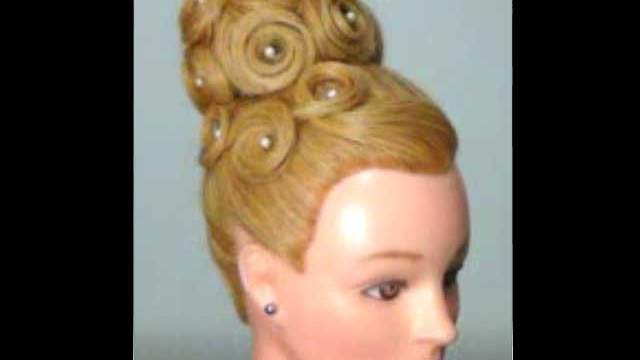
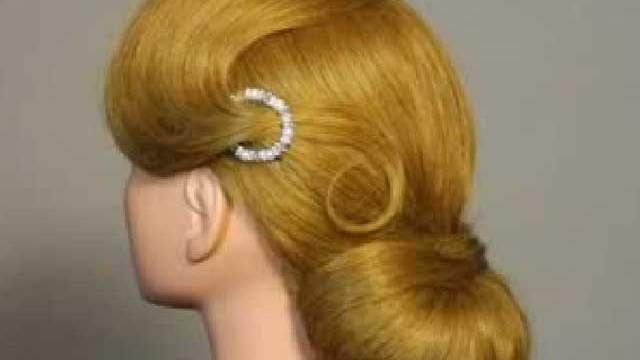
This chignon is for the top of the head and it is a good choice for the brides who want to have chignon on the top of their head
after you made ponytail
from front of the head
separate the hair from the middle of eyebrows
after that, according to the facial features of our customer`s forehead, we decide to attach the front hair
to the ponytail in the back.
If our customer had a long forehead.
We can separate a layer from the front hair to give a style at the end
now I am separating a layer for those who want to know how it is done
I separate it to style it later
Now take the rest of front hair and move to the back ponytail.
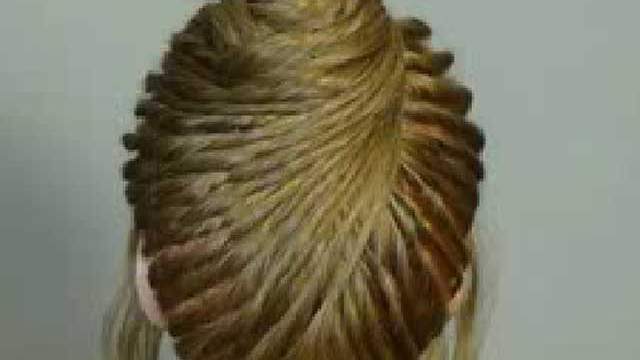
We create some lines here
to make the lines easier
I use two bases
one base this side and the other base, that side
you can use hair clips or pins as bases or you can use some thin wooden stick used for chignon
you only need them for making a base
after that, we pull some hair where we prefer in order to make a better style
after this part is done.
We take the hair from one side of the head and do the same process for this side as well.
If you like you can separate some hair from here for styling at the end.
This side of the head also is done like the previous side
first brush it and attach it to the ponytail in the back
back part of the head also should be done the same.
We can separate the hair into 3 parts, and if you have more hair you can divide 4 parts.
We tease the inner part of the hair so that it looks better
you take the hair up
to ponytail
brush the hair
twist it a little bit on the top and attach it to the ponytail
here also you can pull some hair if you want
in the back of the hair, if not it can be simple
in this way, we take up the hair and attach it to the side of the ponytail
other parts are also done in the same way
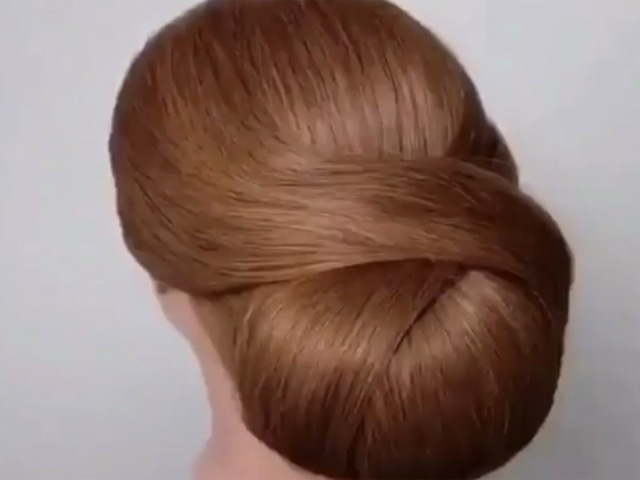
after all the hair is attached to the ponytail.
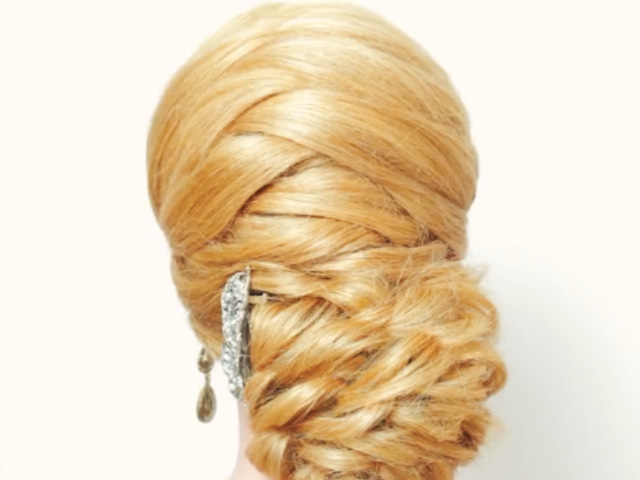
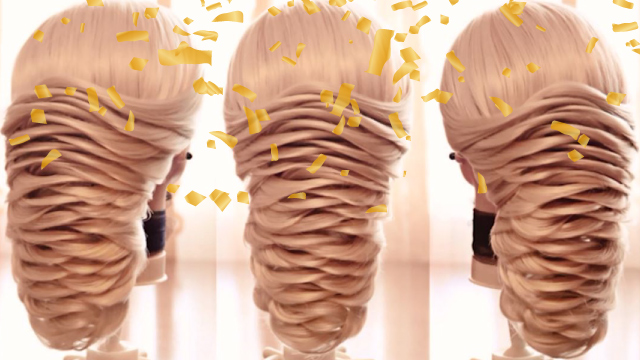
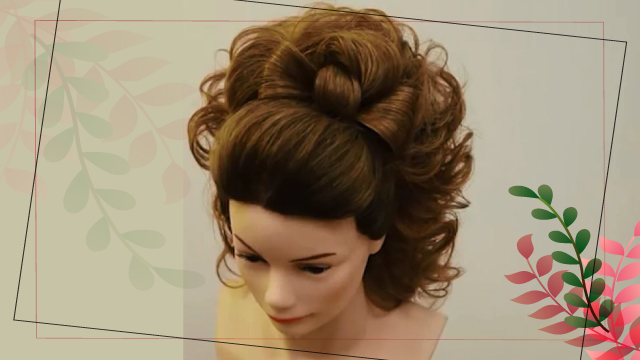
We add a silicon hair prosthesis and make it round and use it around the whole ponytail.
If you want the height of the hair to be more you can use a bigger prosthesis
but if you want to have a normal height this size is ok.
Fix the prosthesis to the hair completely.
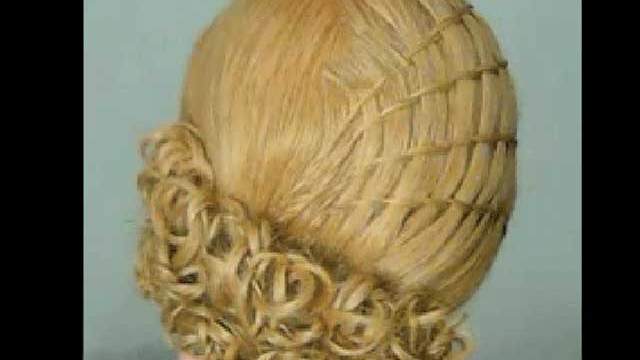
After that
divide the hair into average sizes and use them on the prosthesis
consider the amount of hair for the place where you want to work on the prosthesis
brush it and use spray to give it the style you want
the rest of the hair is also done the same way.
I show you some layers in order that you can understand better.
Separate a layer
brush it
brush completely
spray it and then pull some hair
after pulling some hair, twist the hair a little and fix it where you want.
Dear friends, you can do this model for short hair too
when you collected all the hair in the center and before wearing hair prosthesis
you can add a roll of hair to the ponytail and then attach the hair prostheis
in this way you can do this chignon for short hair.
Dear friends, our educational video is ended, I hope you have enjoyed it.
For joining classes you can give us a call.