How To: Winter Nail Design
In this brief tutorial, you will learn two beautiful winter nail designs.
Instructions:
Greetings. Today we’re here with two winter nail designs.
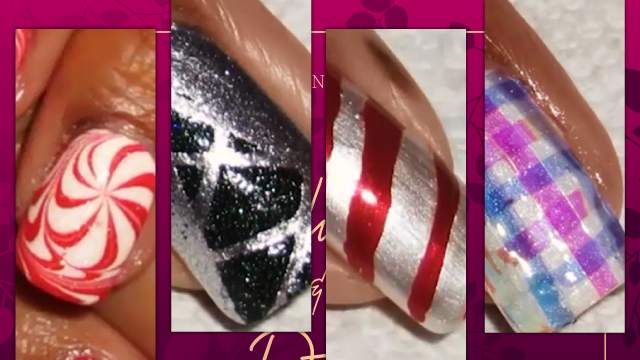
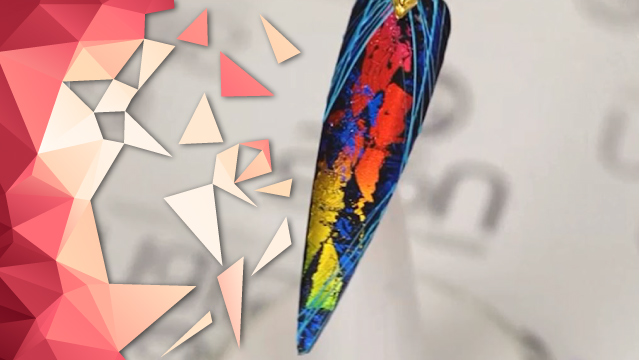
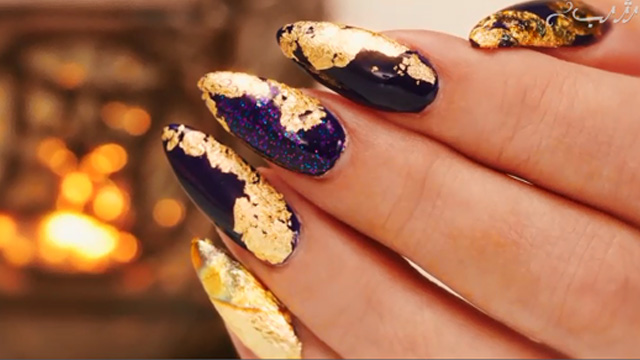
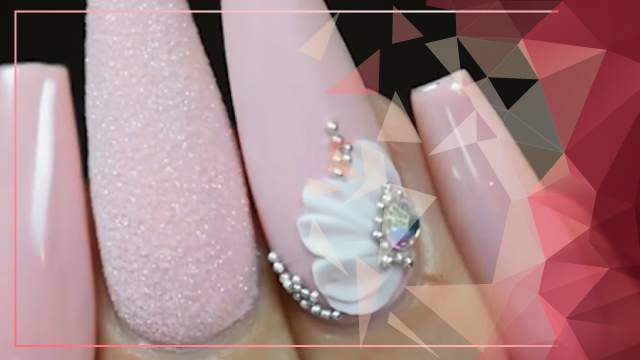
For the first design, use a bright wine colored or golden nail polish. Apply your nail polish to the tip of the nail. Apply a layer of top coating after the nail polish is dry. Use your thin design brush to draw a few lines using white nail polish on the red or golden area you designed before. Use a bit of gold nail polish to fill the empty areas between the white lines using your thin design brush. Then apply another layer of top coating when the nail is dry.
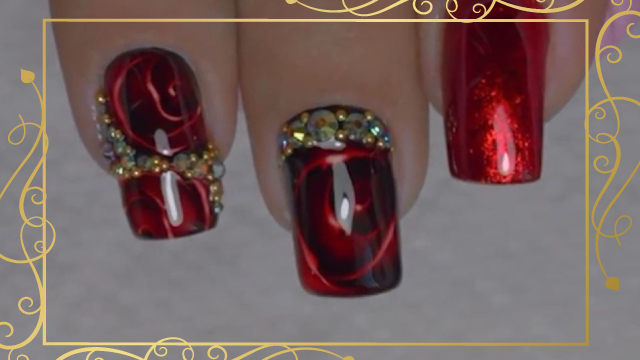
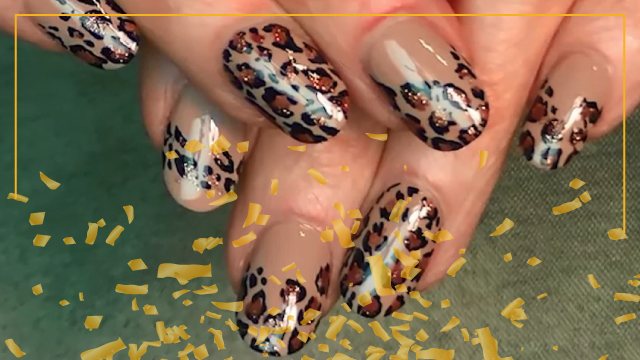
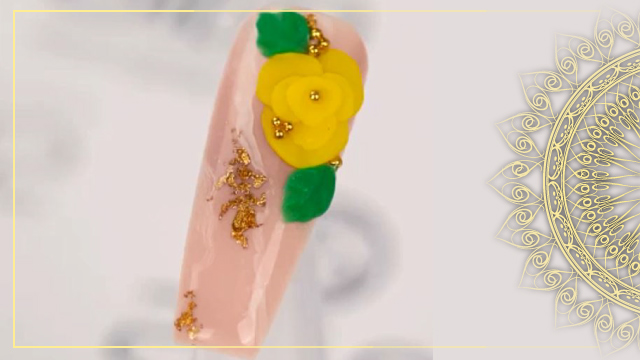
For the next design, apply a bright red for the background of your design. Apply polish on the cuticles. Use nail stamps to design black patterns on the nails. Use your thin design brush to fill the root of the nail with black nail polish. Now apply a layer of top coating and wait for the nail to dry. Use your thin design brush and some white nail polish to draw a few lines on the border between the black and red nail polish. Apply another layer of top coating when the nail is dry.
Thank you for watching.