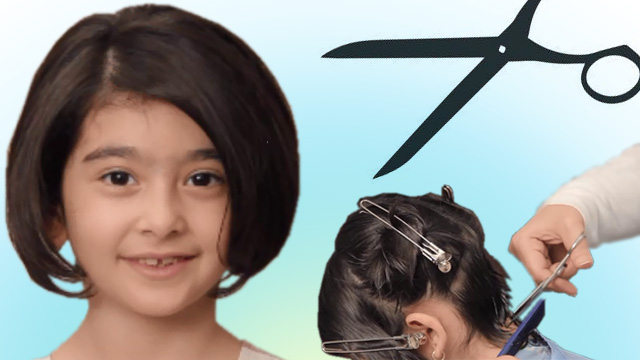
How To: Cutting Long Hair
In this tutorial, you will learn more about cutting long hair. This tutorial was provided by Matin Rooyan Beauty Institute.
Instructions:
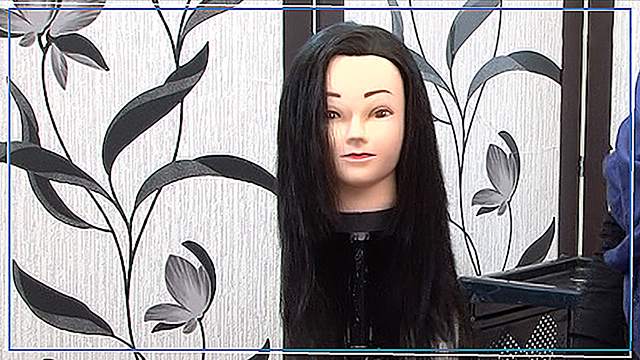
Greetings. I am Moradnia from Matin Rooyan Beauty Institute. Today I am here with a haircut tutorial, which is an issue for many women with long hair. They rather not cut their hair short but still, want to layer their hair a little bit.
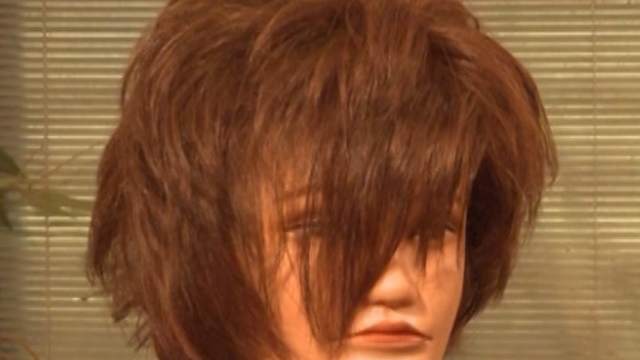
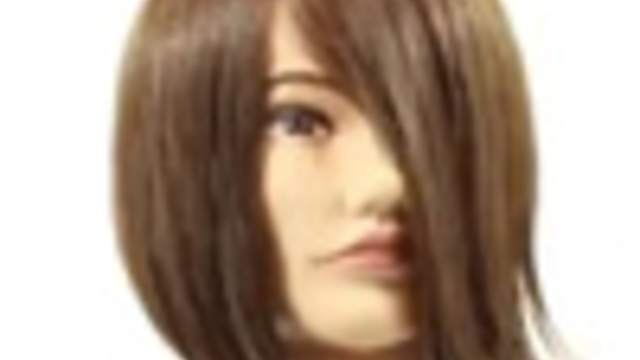
First, let’s separate the hair from one ear to the other. Take the part of hair hanging in the front and choose the place where you want to make your shortest cut,
For example below the chin. Start cutting the hair from this point. Keep cutting the layers diagonally from this point on at the same length. Check the length of the two layers together at the bottom. Now it is time to work on the back of the head. Separate a layer from the middle of the head at the top.
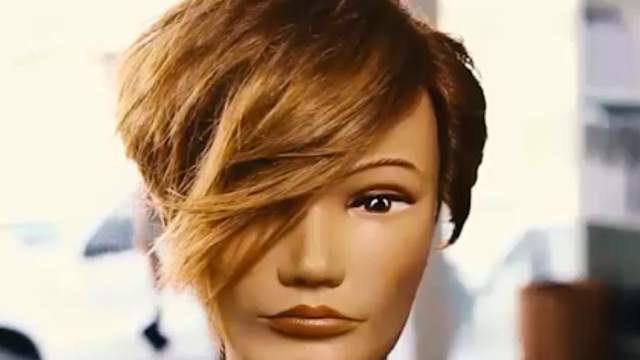
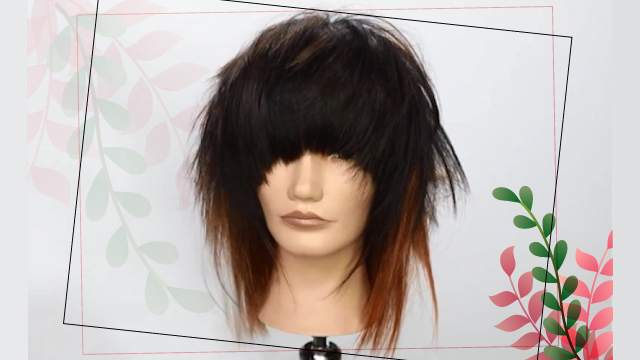
Pull it toward the front and cut the tip as much as you need. Cut the tips with zigzag moves because we want to avoid making lines on the hair. Let the hair hang in the front after the cut. We will do the same for the next layer. Our guide is the layer we cut in the front at the beginning. Hold this layer in your hand, pull the hair to the front and make the cut. To cut the hair in the back, we separate the hair layer equal to the length of the back of the neck. I will use two hair clips to separate this layer. The part we separated is the hair layers we do not want to cut short.
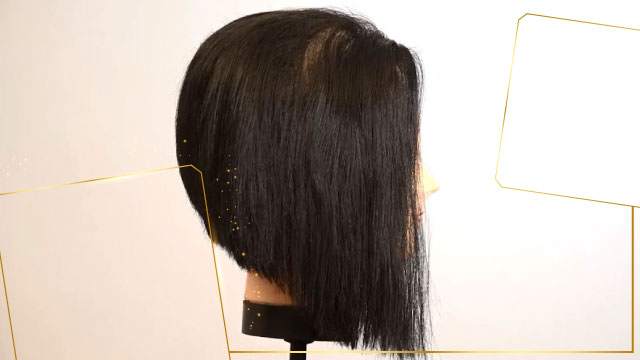
We have cut the hair up to here so far. We will continue to cut the hair at the same angle. Now we have reached the back of the head. At this point, we have to change the angle of the cut a little bit and move higher. We use the same guide as before, but the angle has changed a little bit. As you can see, the closer we get to the end of the hair layers, the cuts we make get smaller and therefore the hair stays long. Take the last layer of hair and check it at the top. We usually do not cut the last layer that much and just cut the tips.
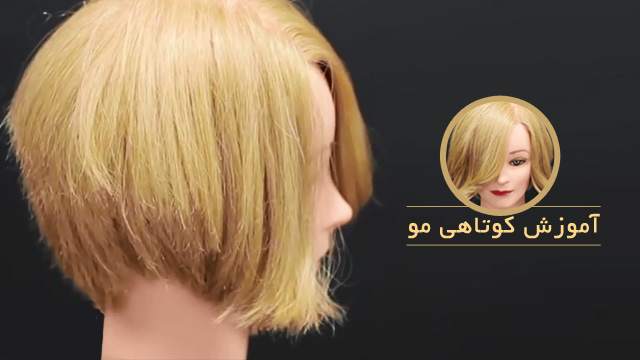
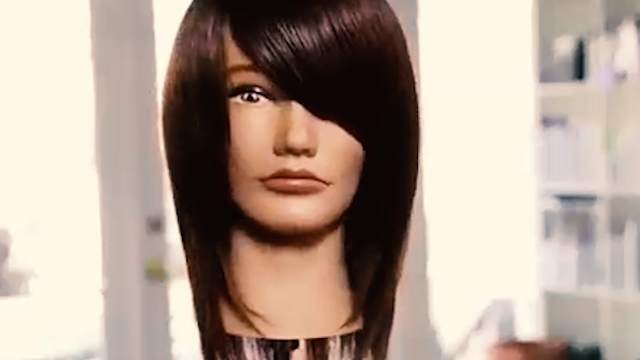
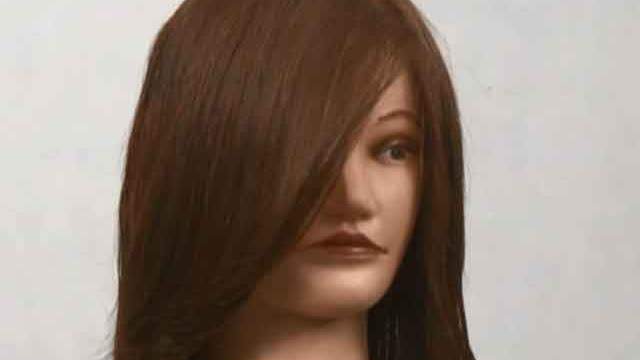
Now let’s cut the sides. For the sides, separate the hair on the ear and another layer a little closer to the back. Together, they will form a triangle. Add a layer we have already cut as our guide. So far, we added a layer to the triangle we separated. Separate a layer from the triangle and start cutting while standing in the back of the head. You have to hold the hair up when you want to make the cut. The same way that we pulled the layer in the back towards the front, the layers on the sides are pulled towards the opposite side. So now, I will pull the hair on the left to the right side. Let’s cut the next layer. Then the last layer. The same is true for the other side.
This is the uncut layer. We take a layer from the side, which we have already cut and add to the uncut section. Separate the hair into a triangle and make the cut while holding it in the opposite direction. This was for the back. For the front, we cut these two layers toward the front but have not cut the surface yet. Right now, we have guides on both side, in the front and in the back, therefore cutting this layer is not going to be hard at all. We can use both guides in the back and in the front. Brush the whole hair, hold it in your hand, and cut it in the opposite direction. Do the same for the other side. Find the guide in the front and the one in the back. Cut the hair in the opposite direction.
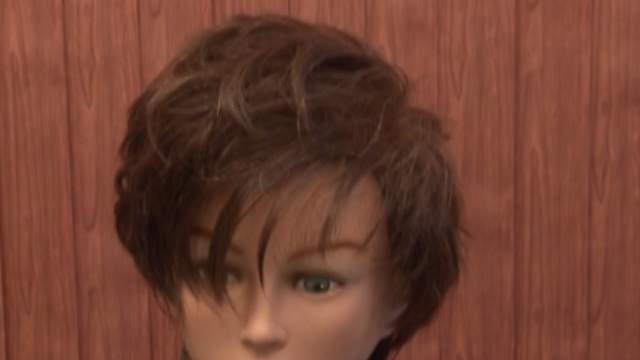
Now separate the hair from one ear to the other and brush it towards the face. Ask the client to bow her head. At last, you can check the hair and cut the excess hair anywhere you found it. We checked the cut all around the head. I hope this tutorial has been useful to you. Until next time, goodbye.