How To: Lip Pigmentation & Permanent Makeup
In this tutorial, you will learn more about lipstick pigmentation as permanent makeup. This video was provided by Mrs. Nastaran Khorshidi. To join our classes, or to book our services, please contact us at 09196184716.
Instructions:
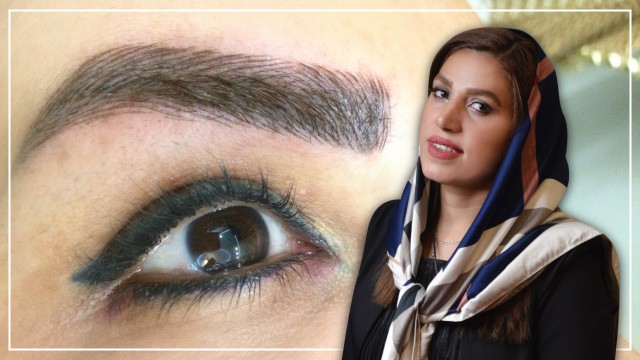
Greetings. I’m Nastaran Khorshidi. I’m a micro-pigmentation and micro-blading, expert and instructor. Today I want to talk to you about lip contour.
An important fact about this process is that you should learn the basics and pay attention to them if you want your pigments to last long enough. To have ideal and beautiful lips, you should have a realistic look about permanent makeup solutions and what you can expect from it. You can’t have other people’s lips but you can have the best version of your own lips. You look at hundreds of pictures taken from models with beautiful lips on social media and TV.
You should remember that it’s not possible to change the form of the lips by drawing outside the lip lines using this process because the tissue outside the lips is different from the lip tissue. If you do this, it will look like you have applied lipstick outside your lips. The client must choose a suitable color but sometimes it’s a good idea to try and convince the client to give up on a bad choice.
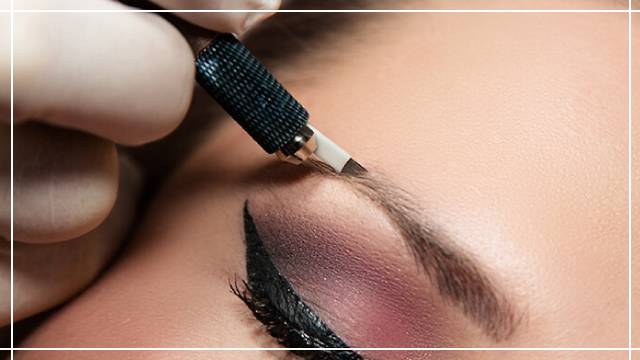
Clean the area of work thoroughly, dampen the lips, and apply ointment before starting the process. After applying the ointment, let it remain on the lips for five minutes to prevent the lips from being chapped. To start the process, you need to draw lip liners using cosmetic pens. The pens you use shouldn’t be too dry or too soft. To draw the most visible lip liners, we will use a beige or white color.
To specify the borders of the lips line, use a cream-colored or white color around the lips. To fix the color on the lips and to increase its durability use a fixing powder or primer. Use anesthetic material after drawing the lines. The anesthetics will take effect after approximately twenty minutes. Start the lip liner from the bottom to prevent color diffusion and spotting. We start drawing our lip liner from the bottom corner of the lips to prevent staining the upper lip.
Do not repeat the contour process on the lower lip multiple times. A contour must look natural and scarcely visible. It’s your duty to answer all the questions your client might have and explain any ambiguity there might be about the nature of this process and make them feel safe and reassured about the process and you as the pigment artist. We start the process from the outer edge of the lower lip. It doesn’t really matter where you start, but you should finish the work in one area before moving to the next. We will not move to a new area on the lips unless we are sure the pigmentation process in over in the current area.
As you can see, I started the pigmentation process from the outer edge of the lower lip. I will pigment the first two or three centimeters on the lower lip before moving to the second part and pigmenting another two or three centimeters. Therefore, we should proceed part by part and fill each part completely before moving to the next. No lines should be visible on the lips and you should not go back and forth on the tissue multiple times. If during the process you noticed that there’s a bruise on the lips, check the device and the ink you are using thoroughly to avoid any issues.
After making sure there’s no problem with the ink, you have to check your hand speed, pressure, and how much you are pulling the skin while working. The needle shouldn’t penetrate the skin too deep to prevent bruising the lips. It’s correct that anesthetics can cause a slight bruise, however, it’s important to check your work as well as your device. The lips are very sensitive parts of the body, contain many levels of tissue as well as veins and nerves, and can bruise easily. This is another reason why you can’t pigment outside the lips or try to make the lips more plump than they are. To do this, you should definitely advise your client to see a certified cosmetics expert.
You can move on to the next section of the lip after making sure the current section is fully pigmented. The work is done on the surface and hand pressure is low. Move your hand back and forth and keep it in a ninety-degree angle. You should use a specific needle and at medium speed. Remove the anesthetic after the work is done. Keep in mind that you should always use a small number of anesthetics because too much of it can bruise the lips and make them stiff.
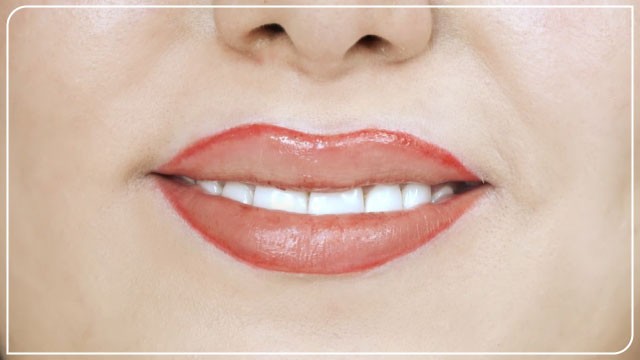
When applying your pigmentation, the lips must be darkened from the contour area up to the middle of the lips. Remember that the center of the lips is more sensitive and the client might feel more pain at this area. Applying permanent makeup is not the same as making the lips bigger. To do that, you must consult a cosmetics specialist. Inflammation of the lips is a natural reaction to pigmentation and there’s no reason for alarm. The inflammation will subside after a few hours.
This concludes our tutorial for today. Until next time, goodbye.