Three Different Ways To Remove Micro-Pigmentation
In this tutorial, you’ll understand the difference between the three processes of removal, covering and decoupage in Micro-pigmentation.
Instructions:
Greetins. I’m Shayegan from Noghre Negar institute. Because of the large volume of requests that we’ve received,
Today we want to talk about different types of Micro-pigmentation removal techniques. We will also present a hands-on decoupage tutorial and explain the difference between removing, covering and decoupage for Micro-pigmentations.
Covering as it is inferred from its name, means to cover the pigmentation and will not remove it. You will use a color similar to the color of the client’s skin to cover the pigmentation if there was a mistake or the client isn’t happy with the result. You have to sample the skin color, and if the skin is dark, you can use a variant of brown with other colors to cover the skin. To do this you will have to use a Micro-pigmentation cartridge to cover the area with zigzag or rotational movements.
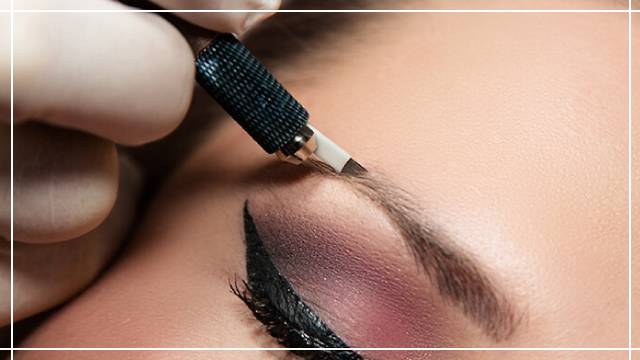
Removing is the process of clearing the pigmentation from the skin. It’s better not to perform this process on the eyebrow because it can damage the hair follicles and hair will not grow anymore. It’s also very hard to apply pigmentation to the same area again, because the area will look like a burn scar. To apply this process you have to use anesthetics on the area and then use a single headed cartridge to touch the area. After that, you should use a triple headed cartridge to work on the area. After you have scratched the area using the needles, you have to apply Tetracycline ointment for 24 hours and tissue generation ointments for twenty-one days for the tissue to regenerate.
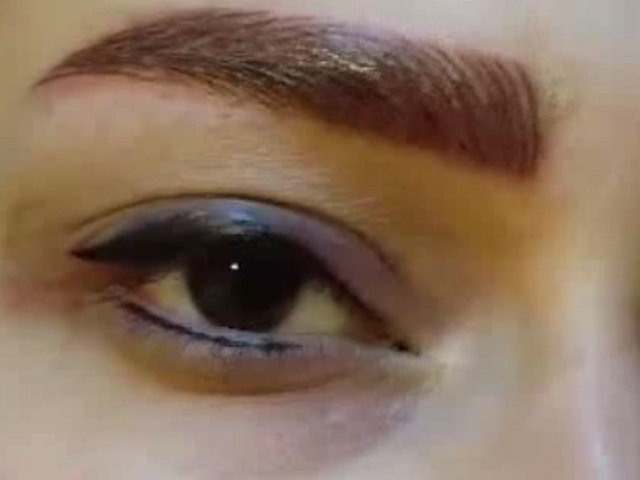
We’re going to show you a decoupage process in action. If you have a client who’s gone through a Micro-pigmentation process and the results are not to their liking because the color or design, you can use a neutralizing color based on the right spectrums to decoupage the work. You must pay close attention to neutralizing colors. Orange can neutralize blue, yellow can neutralize purple, and green can neutralize red. If your client is trying to remove red or purple from their skin, and she isn’t planning on another process of pigmentation, you can use a neutralizer.
If there’s some purple in your client’s pigmentation, you can use brown to neutralize this color and there’s no need for a decoupage. This will add a little yellow to neutralize purple. If the client has some red color in their pigmentation and they don’t want to go through a pigmentation process again, you can use some olive color if there’s too much red and mustard color if there’s less red in the pigmentation. You can also mix these two and then use them.
If the client is planning on another Micro-pigmentation process, you have to use a cool color to neutralize the red, and then you can start a new Micro-pigmentation process. If your client’s eyebrows are somewhat dark blue, you can use a darker shade of orange. If your blue tends toward grey, you can use a lighter shade of orange, or mix it with some yellow and start the decoupage.
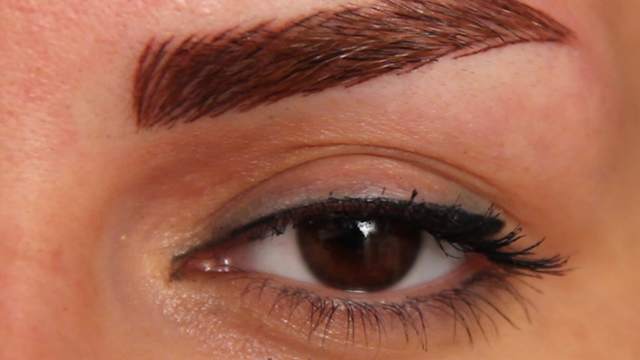
Based on the color wheel, I’ve used a dark shade of orange here, because there are blue pigments here and I wanted to neutralize that. As you can see, the blue pigments make the pigmentation look close to black that I’ve tried to neutralize using the decoupage. After a while, the orange pigmentations will disappear and the color will get two degrees lighter and close to brown. After the decoupage, you have to avoid taking a shower for three days, and use A&D vitamin ointment for three days.
I hope you have enjoyed this video. If you’re interested in joining our classes, please contact us at the number available in the description.